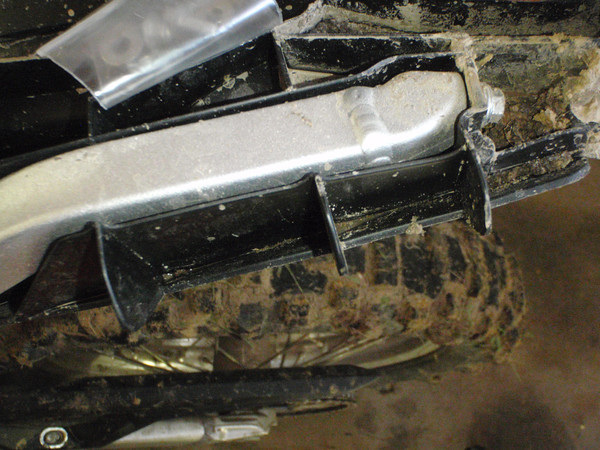
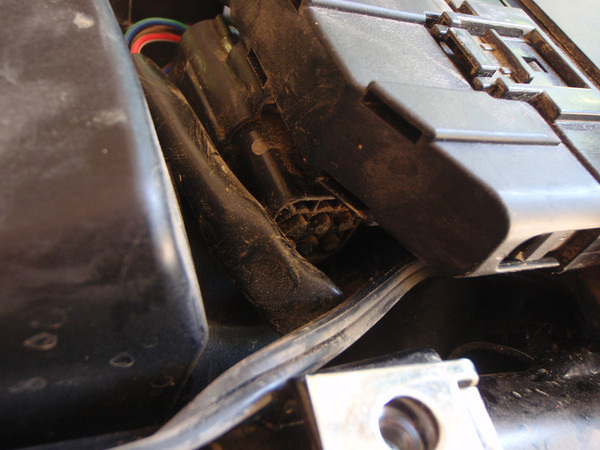
I was curious and figured what better way to find out than to call Woody's about some cush drive hubs. Here are the prices;
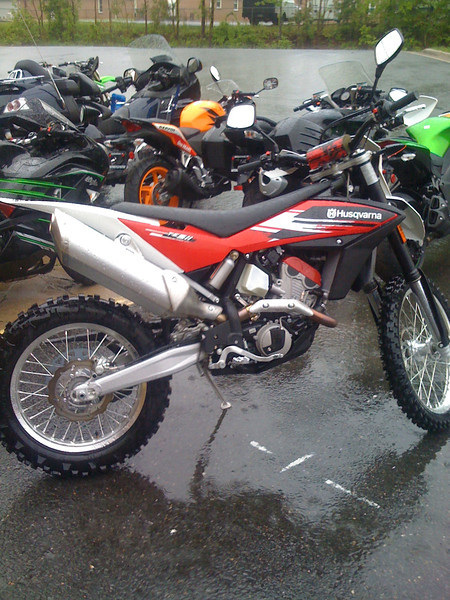
(friends bike) 570 Husaberg - about $800.00 if they can reuse the rim
(my bike) Husky TE511 - about $800.00 if they can reuse the rim
(my bike) Suzuki DRZ 400S - About $920 with Excel rims and closer to $1000.00 with Takosago(?) rims, I figured that I am that far in on a 11 year old bike why not replace the rim.
These are all with new hubs/spokes/bearings/rubbers/spacers/relacing....so basically everything but the tube and tire.
Just gathering information at this point because a more comfortable seat and larger gas tank are much more important.
Some FAQ information;
CUSH DRIVES & motard conversions
Close this page to return to your previous page
do i really need a cush drive hub?
Road use does place more stress on a gearbox, sprockets, chain and rear tyre, because the rear tyre normally slips a little in dirt with each combustion stroke (hence that little rooster tail under acceleration!) and there is also the flex of knobby tyres - both these effects act like a cush drive hub.
There are plenty of arguments for and against them if you check the forums, and a lot of opinions aren't based on hard facts. Personally, we believe that a cush drive hub isn't strictly necessary if:
- your bike is under 600cc
- you don't plan on clocking too many miles on bitumen
- your bike has a solid gearbox with no known issues.
Our reasoning? Almost every trail bike over 600cc has a cush drive hub, which strongly suggests the manufacturers think they are needed on the big thumpers.
Almost every road bike in existence has a cush drive hub, strongly suggesting that manufacturers think they are needed for doing a lot of road mileage.
If your bike has a light weight gearbox, or any known issues, then a cush drive hub probably isn't a bad idea to minimize possible problems.
So how does it work? A cush drive hub lessens the impact of a single cylinder's combustion stroke on your transmission, drive chain and rear tyre, but if you are riding in the upper rev range then you won't notice any effect. The rear hub is also usually heavier with a cush drive hub, which slightly increases unsprung weight and makes the rear wheel a bit more likely to go wider when backing it in in racing.
The benefits of a cush drive hub appear more as you operate in the lower rev ranges. For example, the smoother ride is noticeable at around 3000rpm to 5000rpm, but most noticeable in slow or stop-start traffic. So if you tend to do quite a bit of easy riding or commuting, you'll have a much more enjoyable ride with a cush drive hub.
It is unlikely that your gearbox is going to break down simply because you are using a fixed rear hub for occasional bitumen riding. Gearboxes on dual purpose bikes are over-engineered to last so you can probably ride on bitumen without a cush drive hub for years without problems, particularly with trail bikes that have heavy beefed up gearboxes (e.g. DRZ400, KLR650, DR650), but is probably worth considering more with performance bikes like the KTM and WR450F with light weight gearboxes. As dedicated dirt bikes, the priority on minimising weight means those higher gears may not be so beefed up for extended road riding. There is a reason every road bike has a cush drive hub, and why manufacturers stress that their higher performance offroad bikes aren't intended for "extended highway use".
how much difference does a cush drive make?
For a single cylinder bike, a big difference in everyday riding. For example, in testing cast wheels with the cush drive hub against a spoked motard wheel set it was found that chain snatch setting in at 80kmh with the spoked motard wheels in top gear was reduced to 50kmh with the cast motard wheels. This makes a difference to your useable rev range on your bike, meaning a lot less gear changes in normal road riding. It can be likened to the difference between riding a single cylinder road bike compared to a twin cylinder. However, if you ride hard or race then this will make no difference. But for everyday riding, each combustion stroke of the piston is dampened, which has plenty of advantages:
- extended life of sprockets and chains
- reduced wear on the gear box and other moving parts
- smoother ride whether accelearating or deccelerating
- longer rear tyre life.
how does a cush drive work?
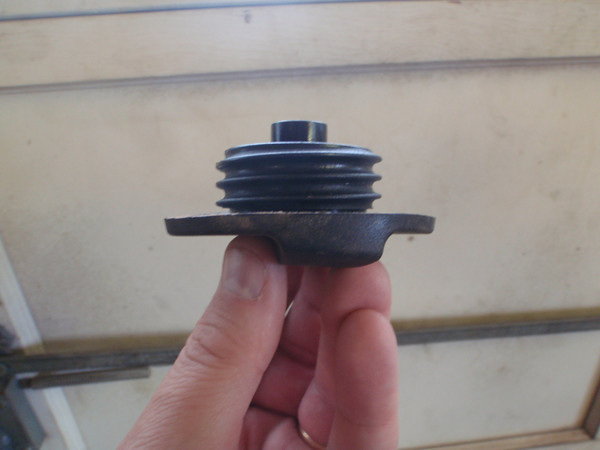
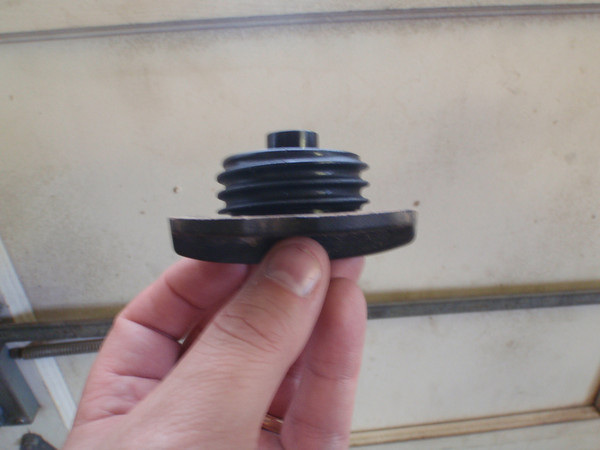
A cush drive is a part of a motorcycle drive-train that is designed to reduce stress from engine torque damaging other components during gear or throttle changes. A common design is made of three major pieces: the wheel, the sprocket assembly or 'sprocket drive', and the rubber damper.
The wheel and the sprocket assembly fit together with five sections much like two hands woven together. In between the contact of the two assembly are rubber blocks. These cush drive rubbers are usually triangular in shape, have a hard compound and may be air-filled. This makes it so the wheel and the sprocket have a dampening layer between them, and the rubber blocks reduce wear, stress fractures and fatigue of the metal assemblies. This is most noticeable with single cylinder motorbikes used on paved roads at slow to moderate speeds, where in effect the power and engine braking is delivered in a series of punches through the transmission, chain, sprockets and rear wheel.
When the rubber damper becomes old and hardens, or wears out, the changes in load on the drive chain instigated by changes in throttle position or changing gear can cause snatchiness in the power delivery. Loads particularly on the drive chain can be massively increased in these conditions, increasing the risk of breakage or of contact with the swinging arm resulting in damage. Perhaps more pointedly the sudden transfer of force to the rear tyre can cause momentary loss of traction (lock or spin) resulting in small changes of direction or at worst total loss of control.
WHY YOUR offroad SPOKED WHEELS DON'T HAVE A CUSH DRIVE
Why doesn't your dirt bike have one? When riding in the dirt, the rear wheel does slip marginally on the looser surface which acts as a kind of cush drive. Cush drives do make a rear wheel heavier, which isn't appreciated by dirt riders or competition motard riders. A cush drive is also more expensive so manufacturers avoid them when they can unless they feel it might cause warranty issues. Generally speaking, both Japanese and European dirt bikes won't feature a cush drive hub until they are over 600cc and have a lot of grunt, meaning they'll be ridden at low revs when the cush drive will act to smooth out the ride. This is why the DR650SE, KLR650 and KTM LC640 and 690 models all feature a cush drive hub.
CUSH DRIVEs and spoked motard wheels
An aftermarket cush drive hub will typically cost around AUD$800 or US$600 which drives the cost of spoked motard wheels up substantially. There is an increasing trend toward adapting cast wheels from smaller sports bikes to gain the benefits of a cush drive hub at a fraction of the price with very little weight gain, if any, compared to spoked motard wheels if the right cast wheels are used.
(friends bike) 570 Husaberg - about $800.00 if they can reuse the rim
(my bike) Husky TE511 - about $800.00 if they can reuse the rim
(my bike) Suzuki DRZ 400S - About $920 with Excel rims and closer to $1000.00 with Takosago(?) rims, I figured that I am that far in on a 11 year old bike why not replace the rim.
These are all with new hubs/spokes/bearings/rubbers/spacers/relacing....so basically everything but the tube and tire.
Just gathering information at this point because a more comfortable seat and larger gas tank are much more important.
Some FAQ information;
CUSH DRIVES & motard conversions
Close this page to return to your previous page
do i really need a cush drive hub?
Road use does place more stress on a gearbox, sprockets, chain and rear tyre, because the rear tyre normally slips a little in dirt with each combustion stroke (hence that little rooster tail under acceleration!) and there is also the flex of knobby tyres - both these effects act like a cush drive hub.
There are plenty of arguments for and against them if you check the forums, and a lot of opinions aren't based on hard facts. Personally, we believe that a cush drive hub isn't strictly necessary if:
- your bike is under 600cc
- you don't plan on clocking too many miles on bitumen
- your bike has a solid gearbox with no known issues.
Our reasoning? Almost every trail bike over 600cc has a cush drive hub, which strongly suggests the manufacturers think they are needed on the big thumpers.
Almost every road bike in existence has a cush drive hub, strongly suggesting that manufacturers think they are needed for doing a lot of road mileage.
If your bike has a light weight gearbox, or any known issues, then a cush drive hub probably isn't a bad idea to minimize possible problems.
So how does it work? A cush drive hub lessens the impact of a single cylinder's combustion stroke on your transmission, drive chain and rear tyre, but if you are riding in the upper rev range then you won't notice any effect. The rear hub is also usually heavier with a cush drive hub, which slightly increases unsprung weight and makes the rear wheel a bit more likely to go wider when backing it in in racing.
The benefits of a cush drive hub appear more as you operate in the lower rev ranges. For example, the smoother ride is noticeable at around 3000rpm to 5000rpm, but most noticeable in slow or stop-start traffic. So if you tend to do quite a bit of easy riding or commuting, you'll have a much more enjoyable ride with a cush drive hub.
It is unlikely that your gearbox is going to break down simply because you are using a fixed rear hub for occasional bitumen riding. Gearboxes on dual purpose bikes are over-engineered to last so you can probably ride on bitumen without a cush drive hub for years without problems, particularly with trail bikes that have heavy beefed up gearboxes (e.g. DRZ400, KLR650, DR650), but is probably worth considering more with performance bikes like the KTM and WR450F with light weight gearboxes. As dedicated dirt bikes, the priority on minimising weight means those higher gears may not be so beefed up for extended road riding. There is a reason every road bike has a cush drive hub, and why manufacturers stress that their higher performance offroad bikes aren't intended for "extended highway use".
how much difference does a cush drive make?
For a single cylinder bike, a big difference in everyday riding. For example, in testing cast wheels with the cush drive hub against a spoked motard wheel set it was found that chain snatch setting in at 80kmh with the spoked motard wheels in top gear was reduced to 50kmh with the cast motard wheels. This makes a difference to your useable rev range on your bike, meaning a lot less gear changes in normal road riding. It can be likened to the difference between riding a single cylinder road bike compared to a twin cylinder. However, if you ride hard or race then this will make no difference. But for everyday riding, each combustion stroke of the piston is dampened, which has plenty of advantages:
- extended life of sprockets and chains
- reduced wear on the gear box and other moving parts
- smoother ride whether accelearating or deccelerating
- longer rear tyre life.
how does a cush drive work?
A cush drive is a part of a motorcycle drive-train that is designed to reduce stress from engine torque damaging other components during gear or throttle changes. A common design is made of three major pieces: the wheel, the sprocket assembly or 'sprocket drive', and the rubber damper.
The wheel and the sprocket assembly fit together with five sections much like two hands woven together. In between the contact of the two assembly are rubber blocks. These cush drive rubbers are usually triangular in shape, have a hard compound and may be air-filled. This makes it so the wheel and the sprocket have a dampening layer between them, and the rubber blocks reduce wear, stress fractures and fatigue of the metal assemblies. This is most noticeable with single cylinder motorbikes used on paved roads at slow to moderate speeds, where in effect the power and engine braking is delivered in a series of punches through the transmission, chain, sprockets and rear wheel.
When the rubber damper becomes old and hardens, or wears out, the changes in load on the drive chain instigated by changes in throttle position or changing gear can cause snatchiness in the power delivery. Loads particularly on the drive chain can be massively increased in these conditions, increasing the risk of breakage or of contact with the swinging arm resulting in damage. Perhaps more pointedly the sudden transfer of force to the rear tyre can cause momentary loss of traction (lock or spin) resulting in small changes of direction or at worst total loss of control.
WHY YOUR offroad SPOKED WHEELS DON'T HAVE A CUSH DRIVE
Why doesn't your dirt bike have one? When riding in the dirt, the rear wheel does slip marginally on the looser surface which acts as a kind of cush drive. Cush drives do make a rear wheel heavier, which isn't appreciated by dirt riders or competition motard riders. A cush drive is also more expensive so manufacturers avoid them when they can unless they feel it might cause warranty issues. Generally speaking, both Japanese and European dirt bikes won't feature a cush drive hub until they are over 600cc and have a lot of grunt, meaning they'll be ridden at low revs when the cush drive will act to smooth out the ride. This is why the DR650SE, KLR650 and KTM LC640 and 690 models all feature a cush drive hub.
CUSH DRIVEs and spoked motard wheels
An aftermarket cush drive hub will typically cost around AUD$800 or US$600 which drives the cost of spoked motard wheels up substantially. There is an increasing trend toward adapting cast wheels from smaller sports bikes to gain the benefits of a cush drive hub at a fraction of the price with very little weight gain, if any, compared to spoked motard wheels if the right cast wheels are used.