All I can say is that rear fender is a huge piece of dung....so it has to go! So the first thing I did was pull the seat and the rear bodywork so that I could get to the wiring. Once that is off it is only a couple of screws, two plugs, and two bullet connectors and the whole blinker/license plate assembly comes off.
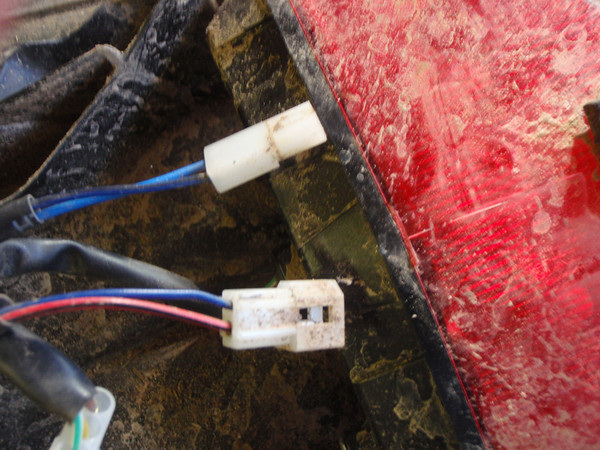
These are the two blinker plugs.
These are the two blinker plugs.
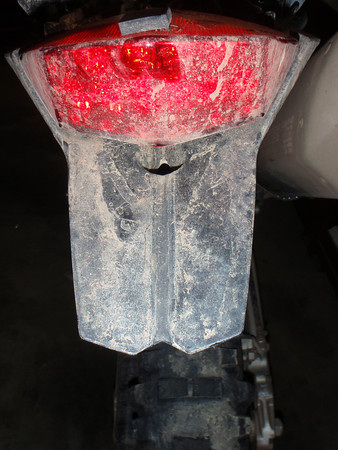
And then the rear looks like this.
So I decided to use these flush mount LED blinkers from Sicass racing which are plug-n-play with the Husky wiring harness. Even with using just one pair I would still recommend their flasher unit as it does blink a bit fast.
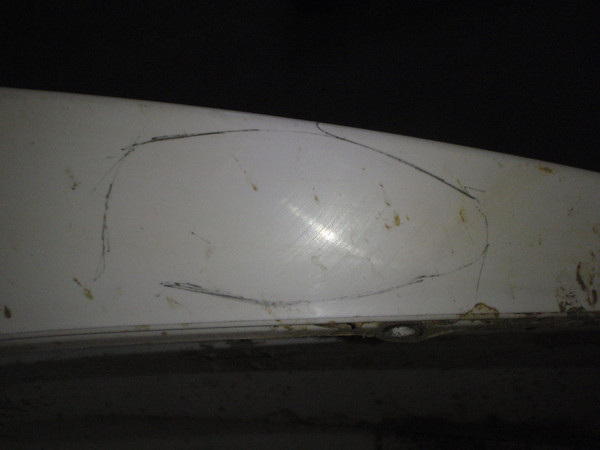
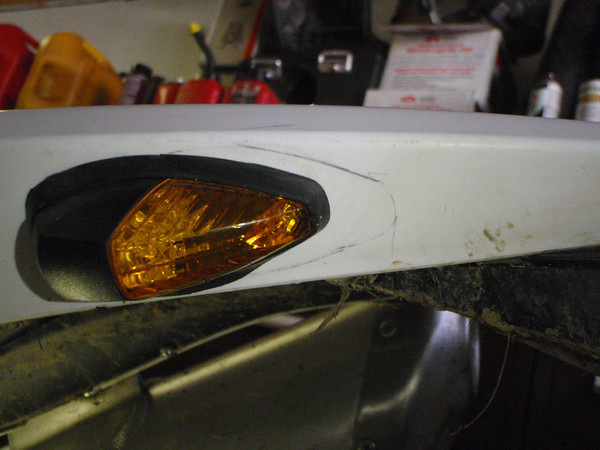
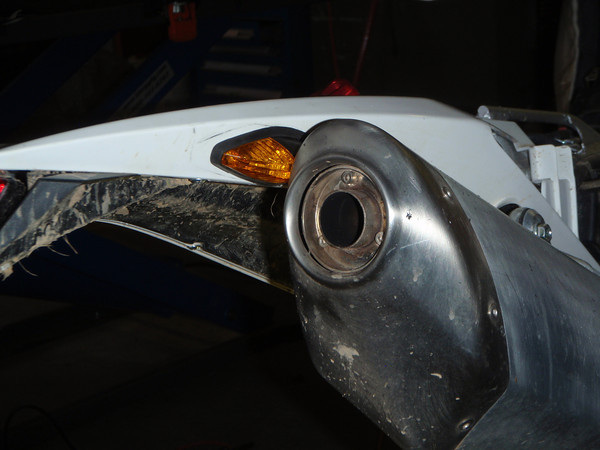
So I eyeballed a suitable location on the tail section and drew a line around it using a pencil. I then removed the tail and started the preps for drilling the holes for the wires and attaching hardware.
So I eyeballed a suitable location on the tail section and drew a line around it using a pencil. I then removed the tail and started the preps for drilling the holes for the wires and attaching hardware.
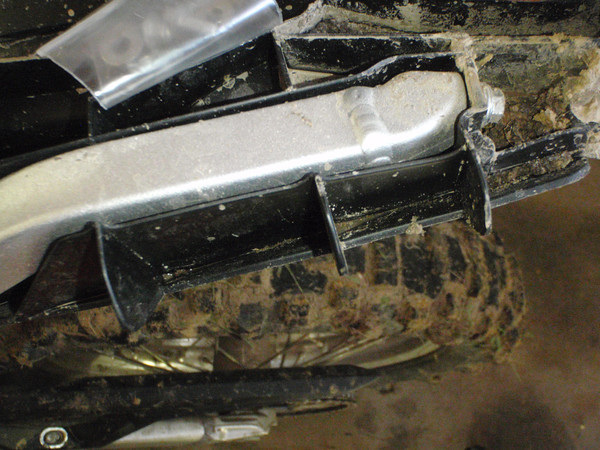
Take note that these plastic ribs get in the way of the attaching hardware and wiring so you may have to adjust the position of the blinker a bit like I had to so that everything clears. So you will probably have to take the tail on and off several times to get the position where you want/need it.
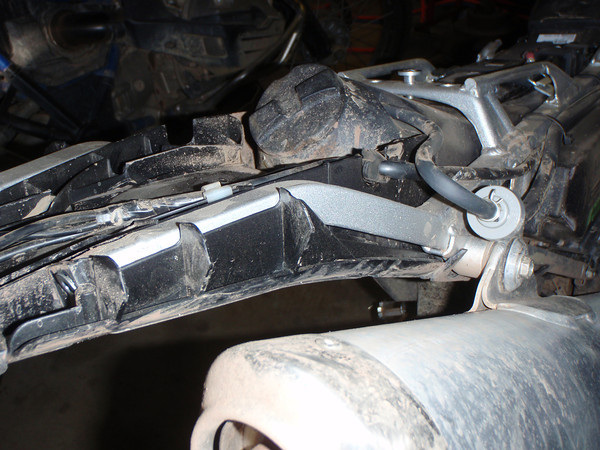
Here they are mounted slightly more forward on the bike from where I started.
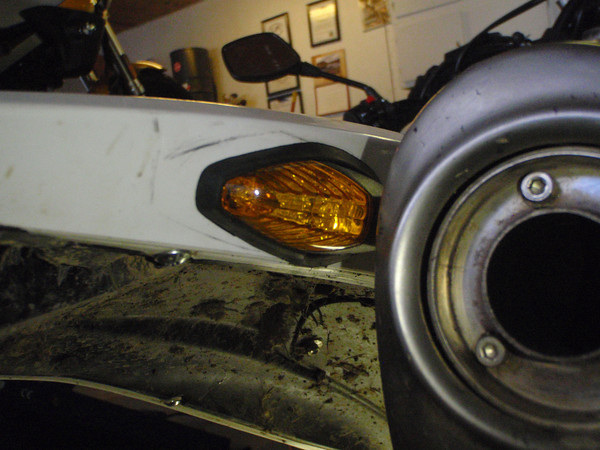
Plenty of clearance between the muffler and the blinker......hopefully, only time will tell.
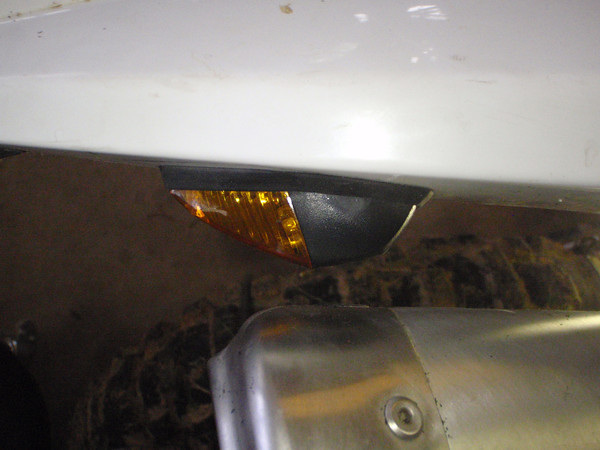
So the last thing I did was take some cleaner and remove the pencil markings and try them out.