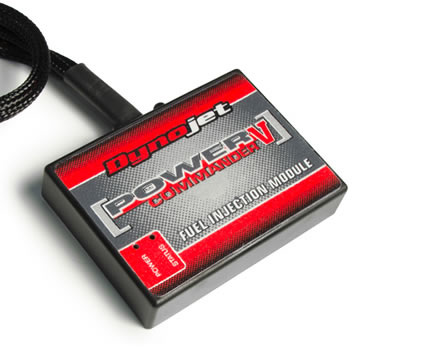
There are few things in life that are illustrative as a practical example. Having recently returned from the Trans America Trail, there were two minor nits that needed to be dealt with. The first was the utter lack of power at altitude. I know you are a little bike, but really sweetie, you were completely gutless when faced with adversity nearing the summit of Imogene Pass. Yes, I do realize that it was an extreme example, but we must conquer! So, with that, I've installed a Power Commander V Fuel Injection module. The installation is a snap...well once you watch the you tube video and locate the connectors.
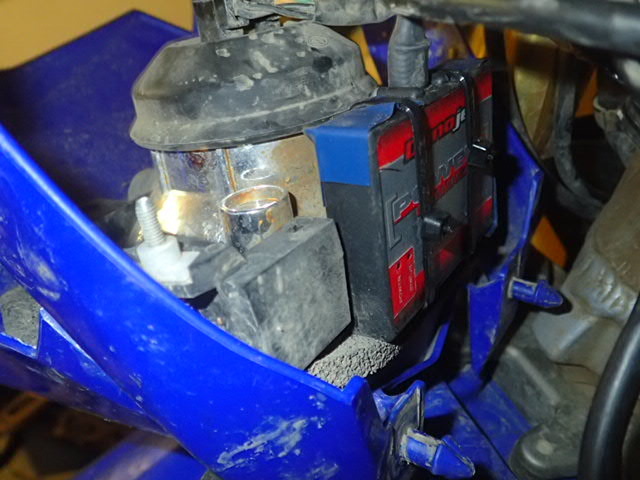
The main module tucks neatly under the headlight assembly, and you would never know it's there once the headlight is secured in place.
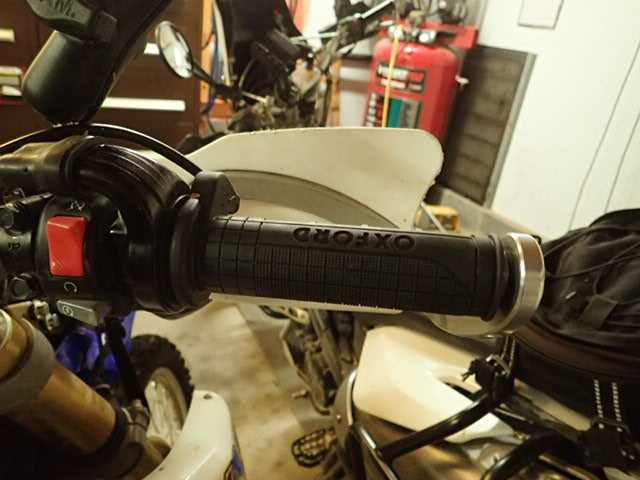
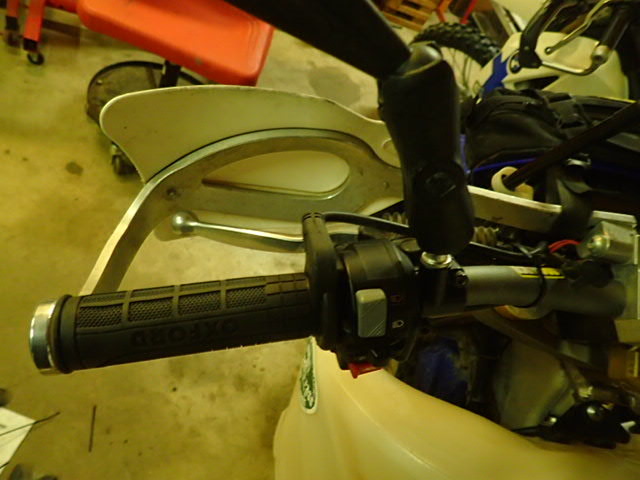
Next up was taking the chill out of the cold mountain mornings. How about a set of Heated grips? So, part of the "problem" is that folks report that aftermarket grips don't produce enough heat to overcome the heat dissipation of an Aluminum aftermarket bars. Secondly, many report that aftermarket grips are not robust enough. My other personal pet peeve is companies that don't provide a switch, or provide a switch which is not waterproof. For all the reasons, I chose to use the Oxford Adventure Heaterz. Their switch has a dimming feature, auto turns off and also monitors battery voltage.
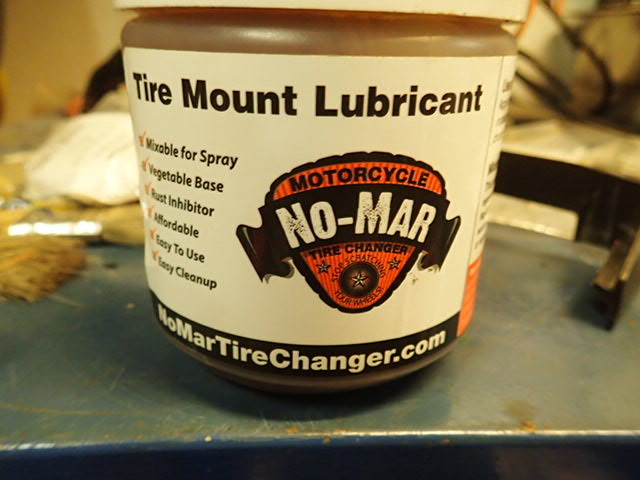
I moved all the switches towards the center of the bike to compensate for the Adventure Heaterz, which are a bit longer than grips that were mounted on my Pro-Taper bars. Another issue I had was getting the left side grip onto the knurled bar end. It was so tight, that I didn't use any glue, but a whole lot of tire lube!
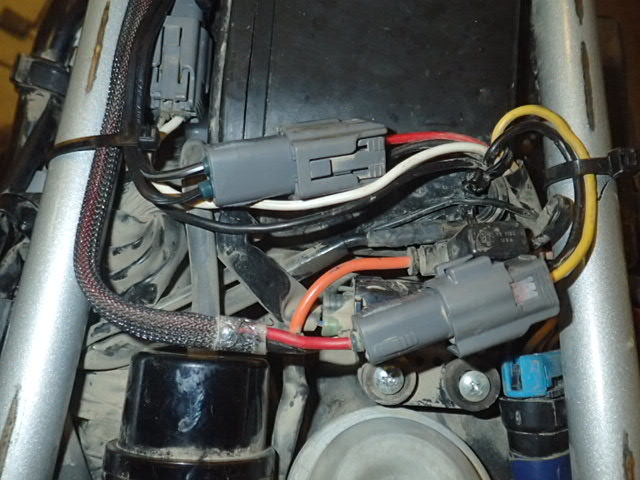
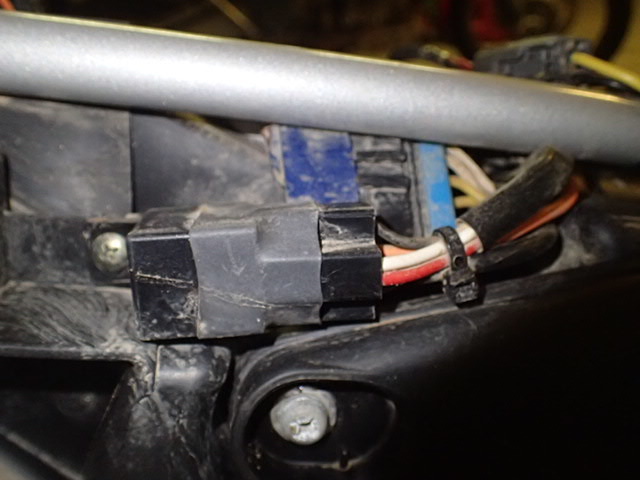
I was lucky that I previously installed an Eastern Beaver 3 circuit, and there was an open port. Which uses all switched circuits. Switched circuits are turned off when the bike is shut down. The picture on the left shows the grey connectors that Eastern Beaver provides. They are robust, if not a bit on the big side for bike work. You can also see that 3-circuit unit which is captive between the frame and the relay. The picture on the rights is the relay switch.
 |  |
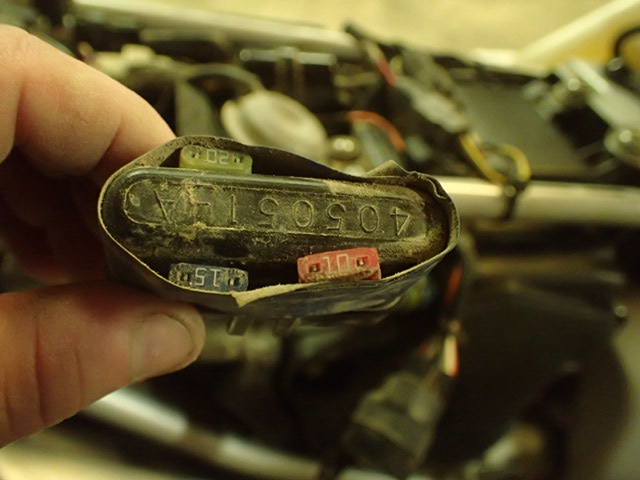
I've used some electrical tape to keep some same fuses with me.
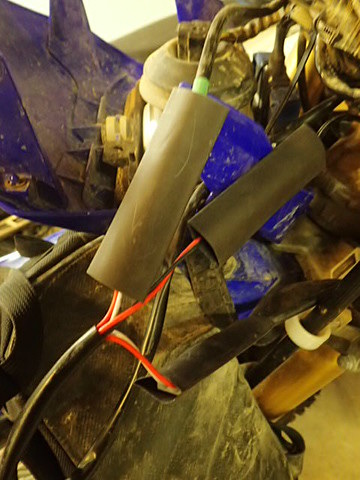
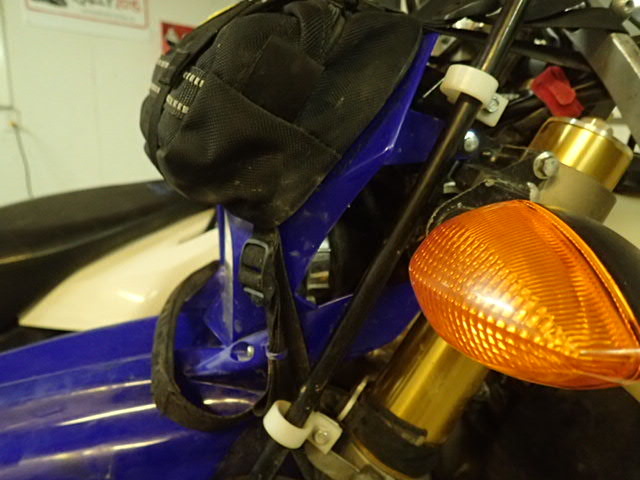
My only real nit with this kit, is that since it's a universal kit, the wiring loom is too long. So, let's get to tucking those up. I've used some 3/4" heat tubing which I don't shrink to give the connectors some additional water resistance. Then I zip tie them on behind the headlight on the top.
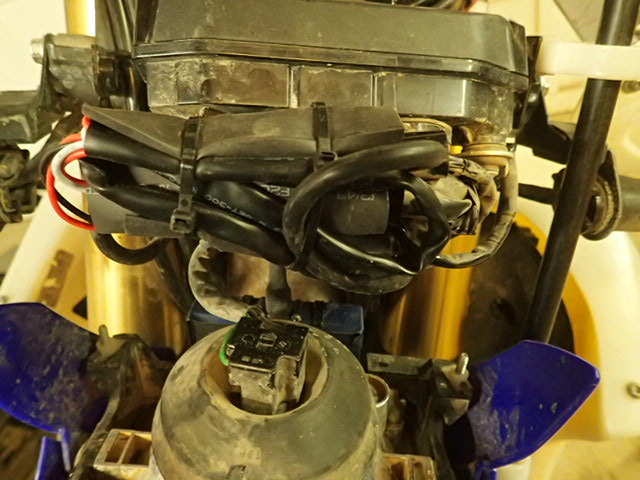
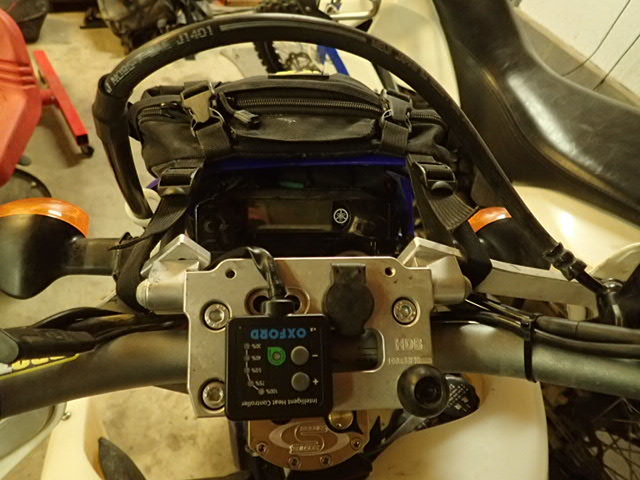
While it could never look factory, I am pleased with the final install appearance. To keep the wiring loom on the back side of the triple tree, I intentionally mounted the controller upside-down. It is mounted to the Highway DirtBike plate with double sided sticky tape. It's important that you make sure you leave a reasonable gap (2-3 quarters thick) on the throttle side to the hand guards. Rubber expands when hot, and you don't want the throttle to be bound up on the hand guards! Also, notice how the wire routes over the top of the handlebars. This position is necessary so that that the throttle can rotate without snagging on the clutch perch or front brake reservoir. Also, the throttle will require the use of the supplied super glue (which starts curing really FAST!, but then fully cures in 24 hrs).
 |  |