BlastOff Adventures
  • About
  • Travel Reports
    • North America >
      • Canada >
        • Trans Taiga
        • Trans Labrador Highway
        • Newfoundland
      • United States >
        • GoWest!
        • XXX Attack (And the Grety GSA Goose) on the North East BDR
        • Ready, Set, TAT (Trans America Trail)
        • Corner carving in West Virginia
        • Key West, FL
        • Continental Divide
        • Old Line State (Maryland)
        • Second Sunday Sled Rides (SSSR)
    • South America >
      • Patagonian Coddiwomple 2019
      • Ecuador--Calibrating to Zero
      • Ecuador
    • Events >
      • 2019 California Superbike School
      • 2019 Roaming Rally
      • 2016 CLASS Motorcycle School At VIR
      • 2015 Roaming Rally
      • 2016 Pine Barrens 500
      • 2016 SRT Performance Driving Experience at Bondurant Racing School 2016
      • 2014 Void
      • 2014 Altrider's Conserve the Ride
      • 2014 Fundy Adventure Rally
      • 2014 GS Trophy Challenge
      • 2014 Roaming Rally
  • Builds
    • Motorcycles >
      • BMW F700GS Dorito Roulette
      • BMW X-Country Dorito Cool Ranch
      • BMW X-Challenge
      • BMW HP2 Enduro
      • Husqvarna TE 511
      • KTM 625 SXC
      • Yamaha MT-09 Dorrito Jurassic (AKA T-rex)
      • Yamaha WR250R
    • Vehicles >
      • Land Rover Ninety (Defender)
  • Contact

The Tail Tidy

9/7/2019

0 Comments

 
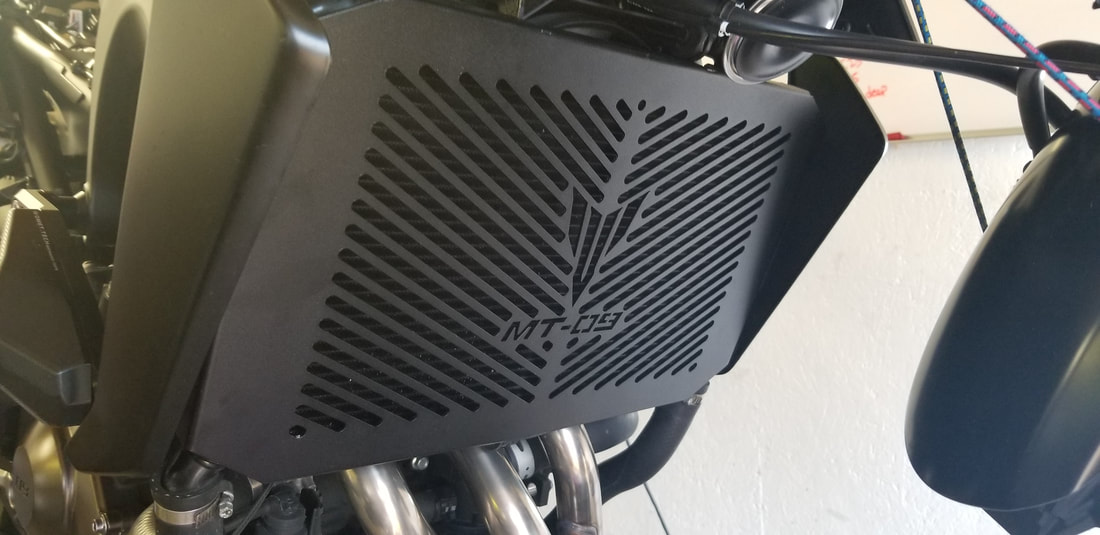
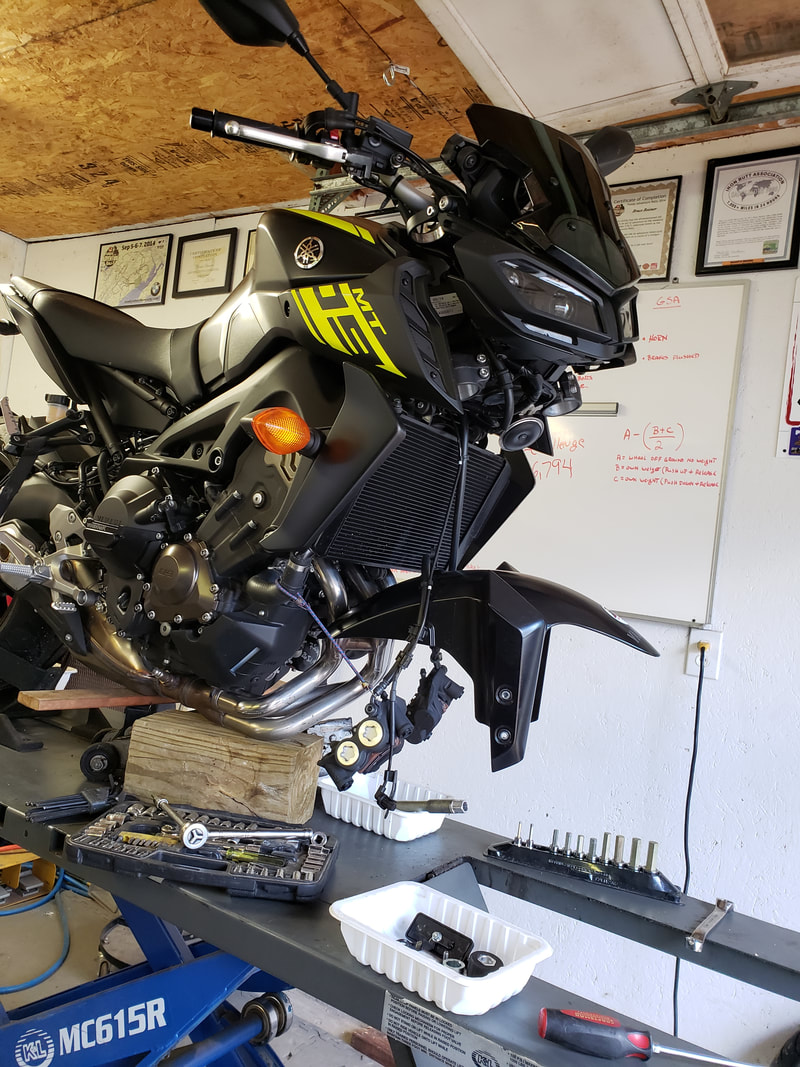
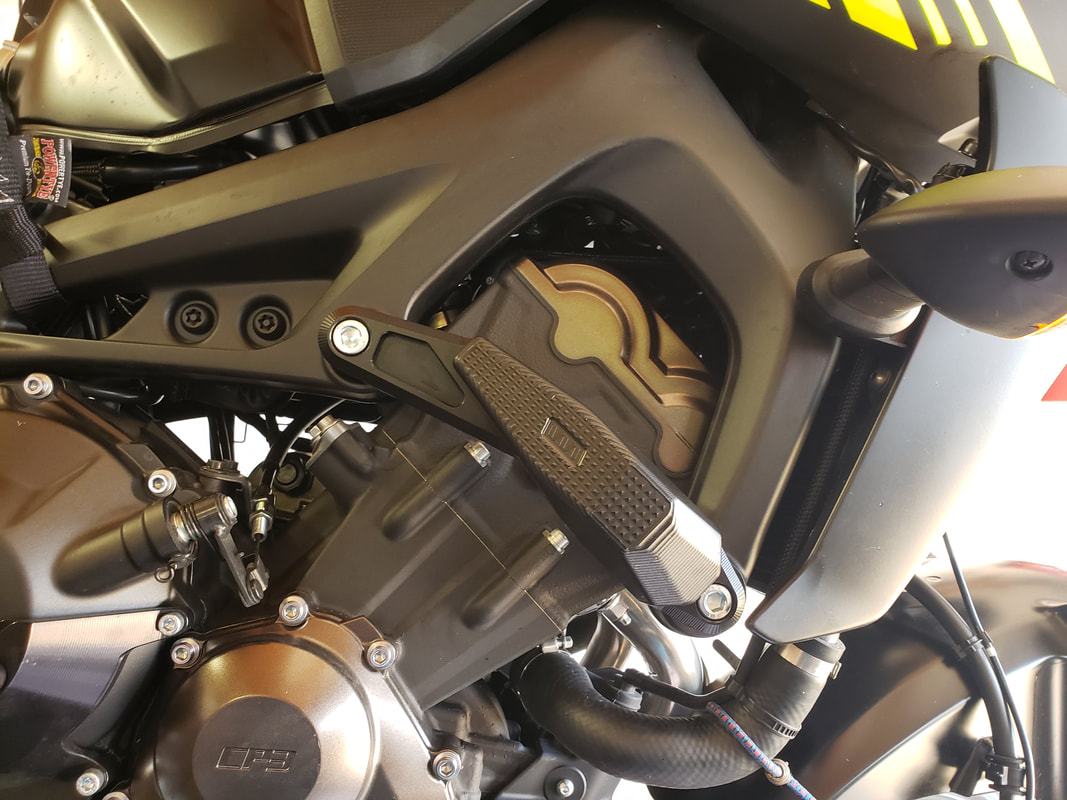
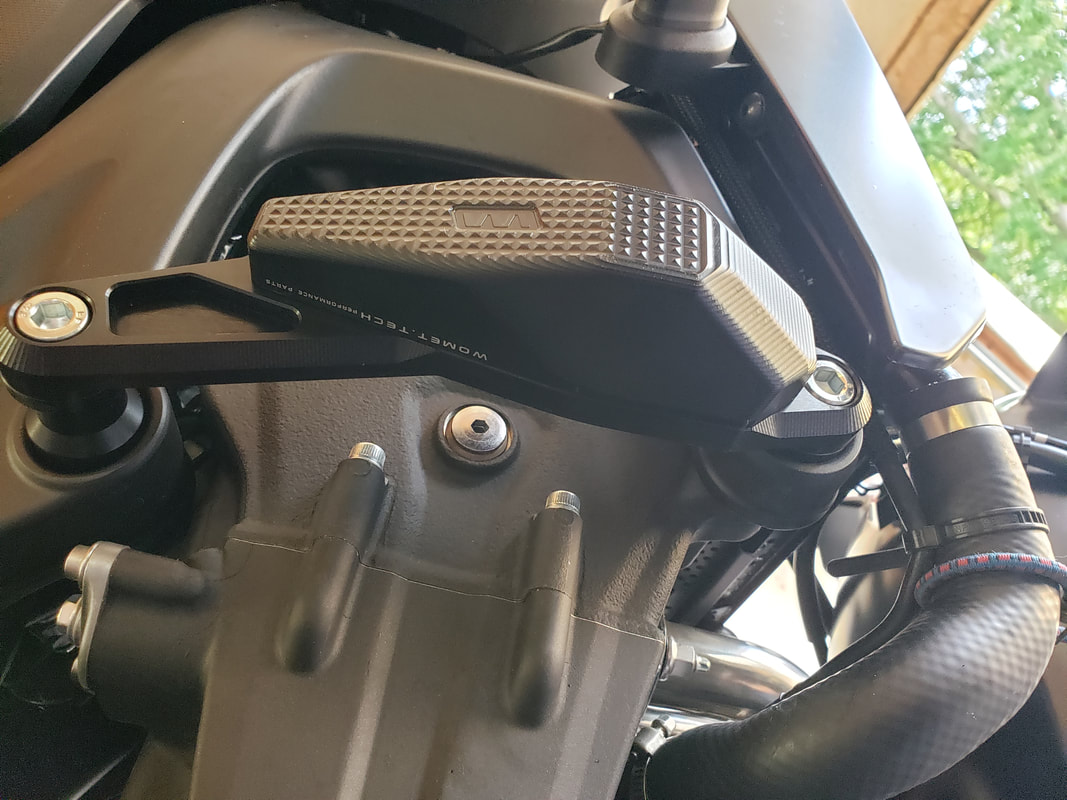
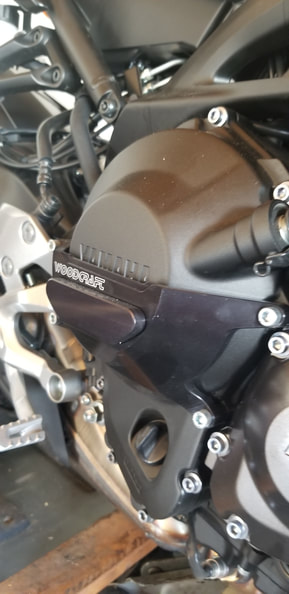
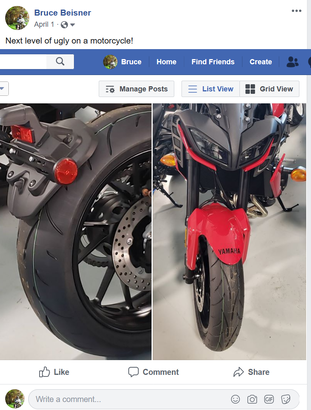
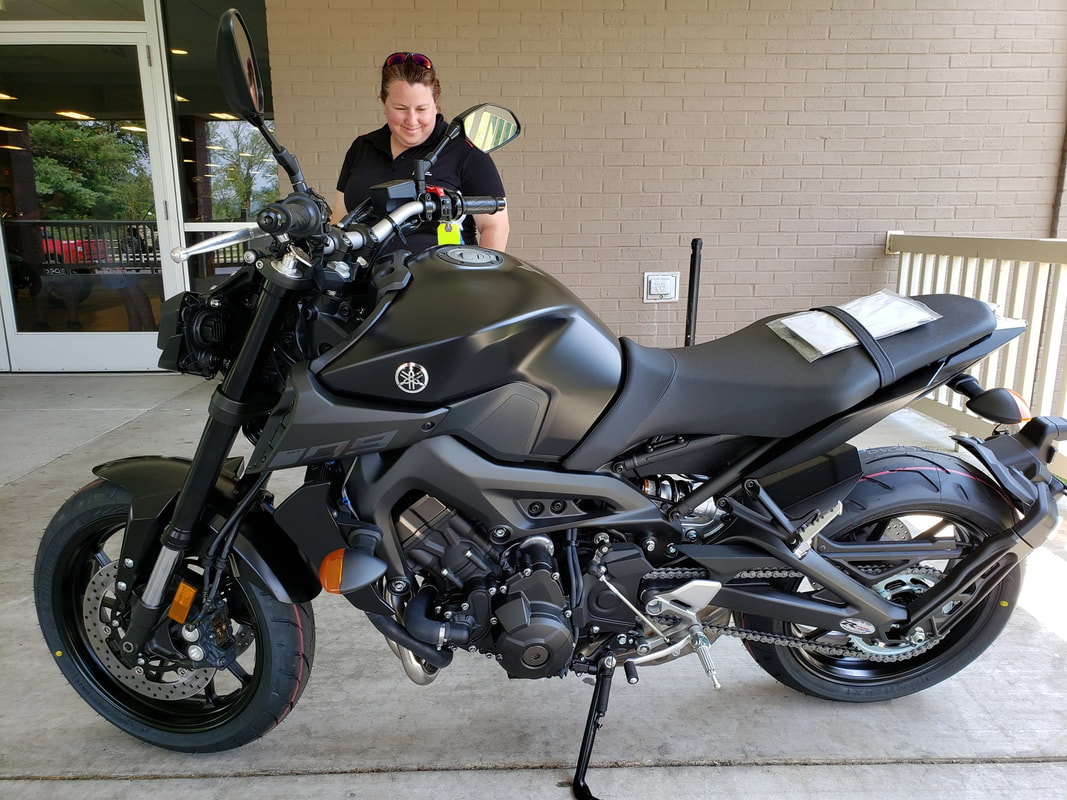
The experiment starts innocently enough.  I want to get rid of the afterthought of rear license plate holder, into something more sophisticated.  Basically, I want to lose 1.4% of bike weight.  I do feel bad as I peer down to take this photo. It's like a graveyard of unfilled dreams.  No matter, out with that rubbish!
Picture
Picture
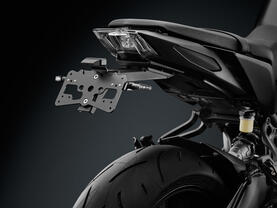
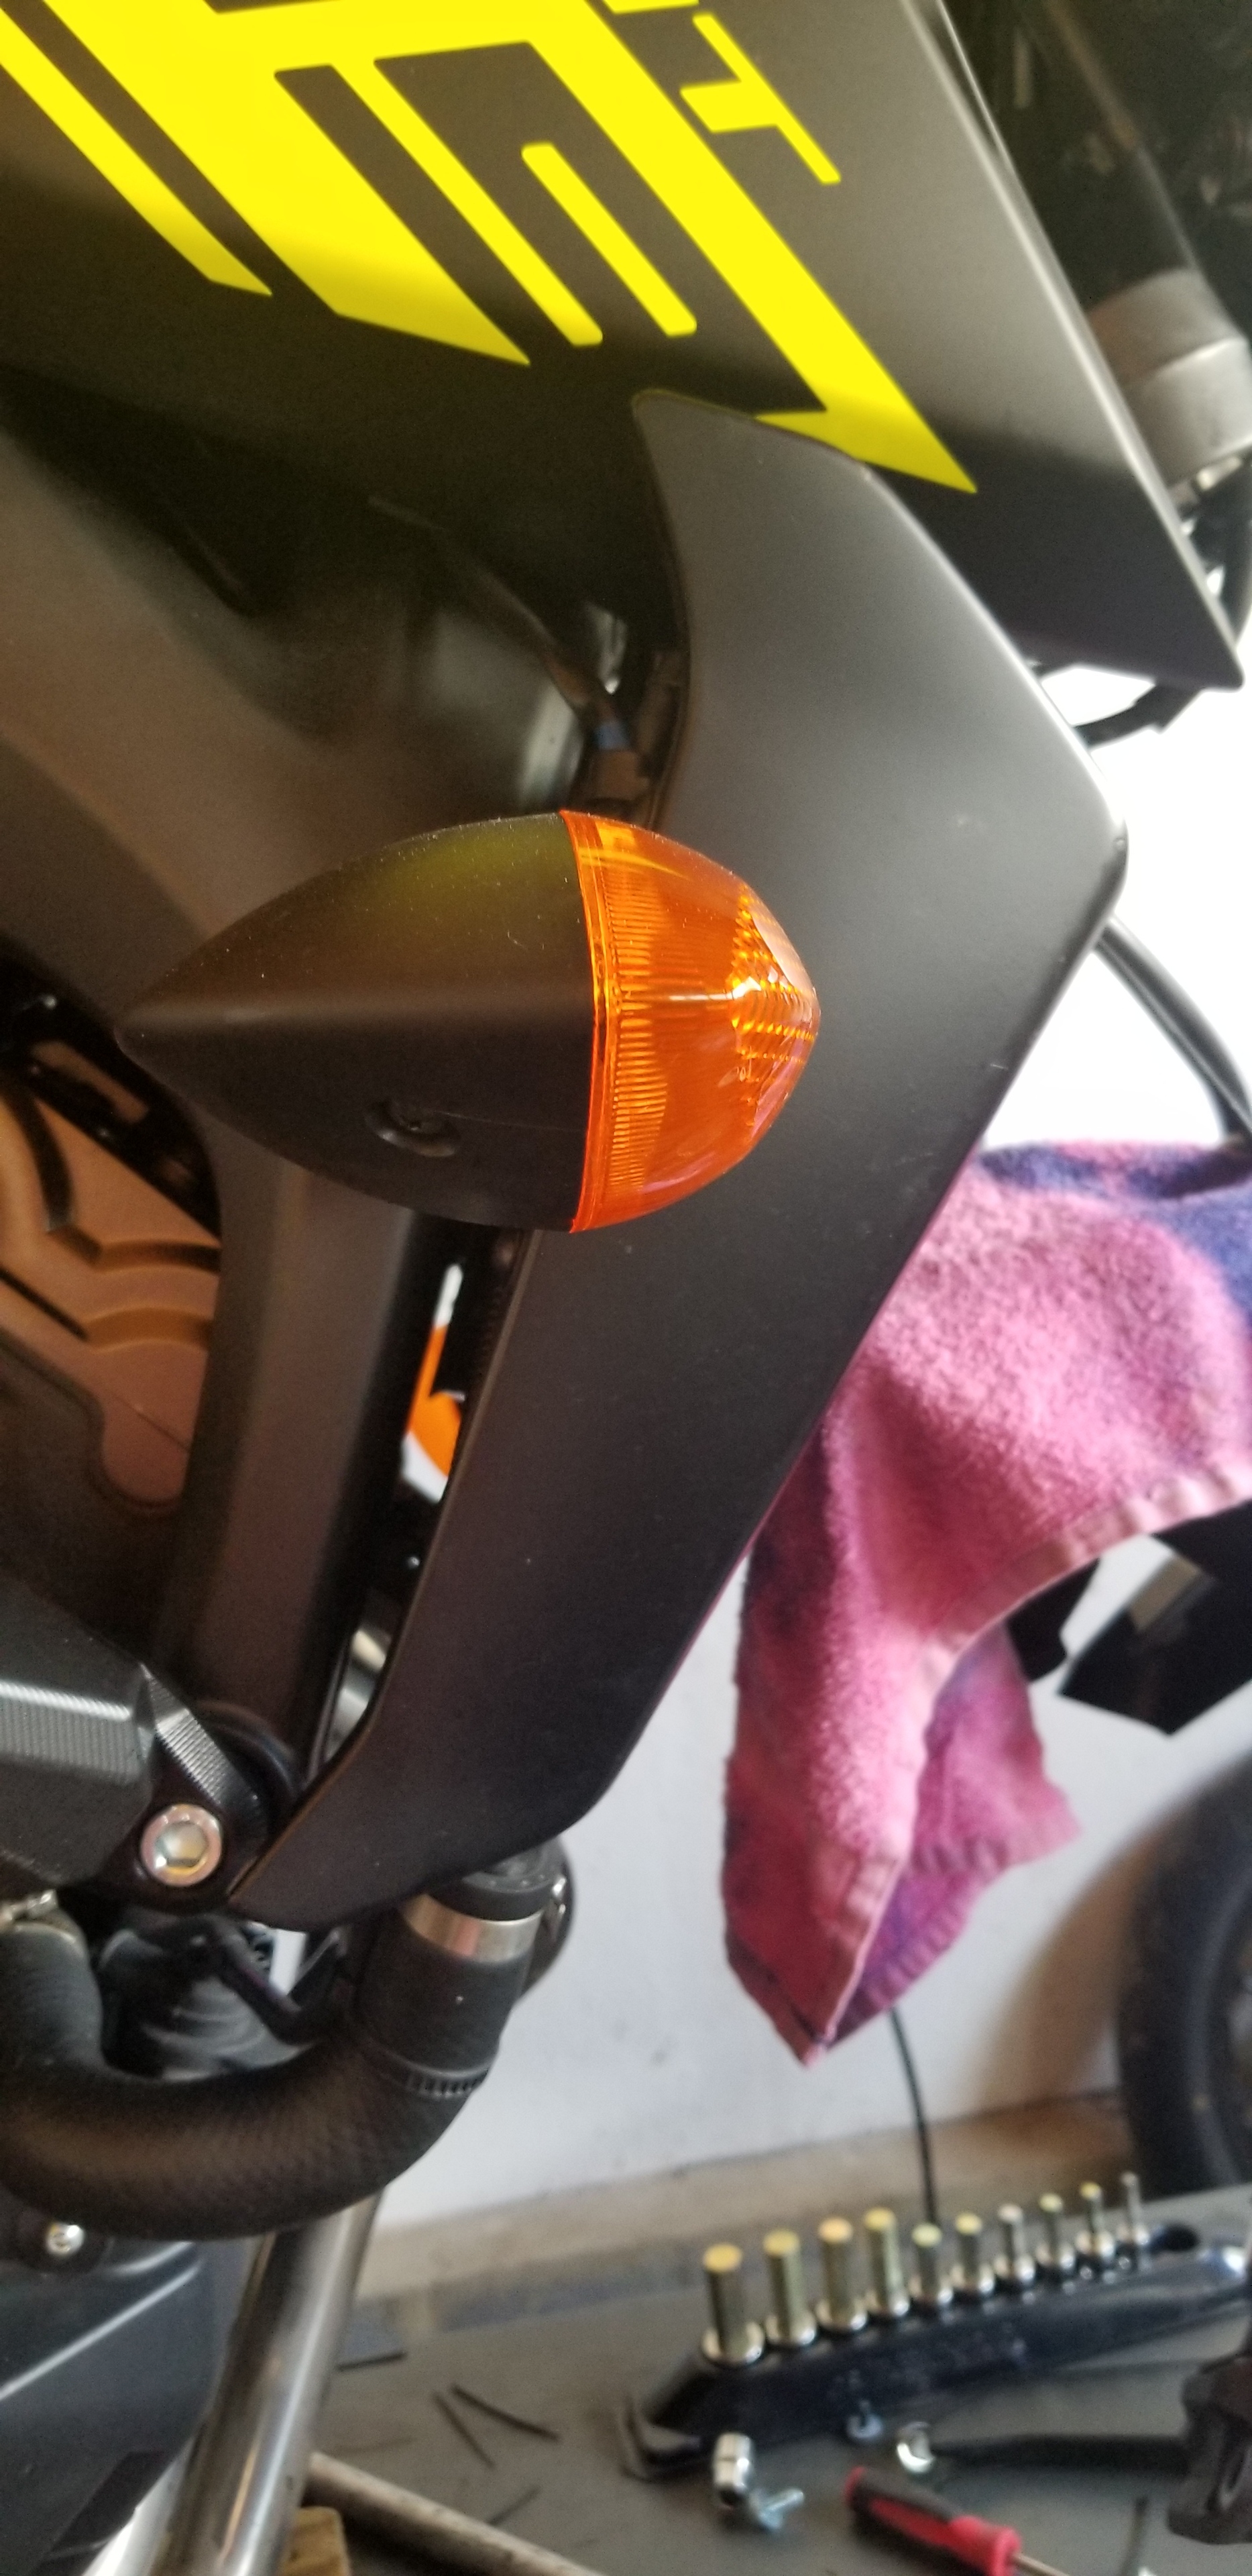
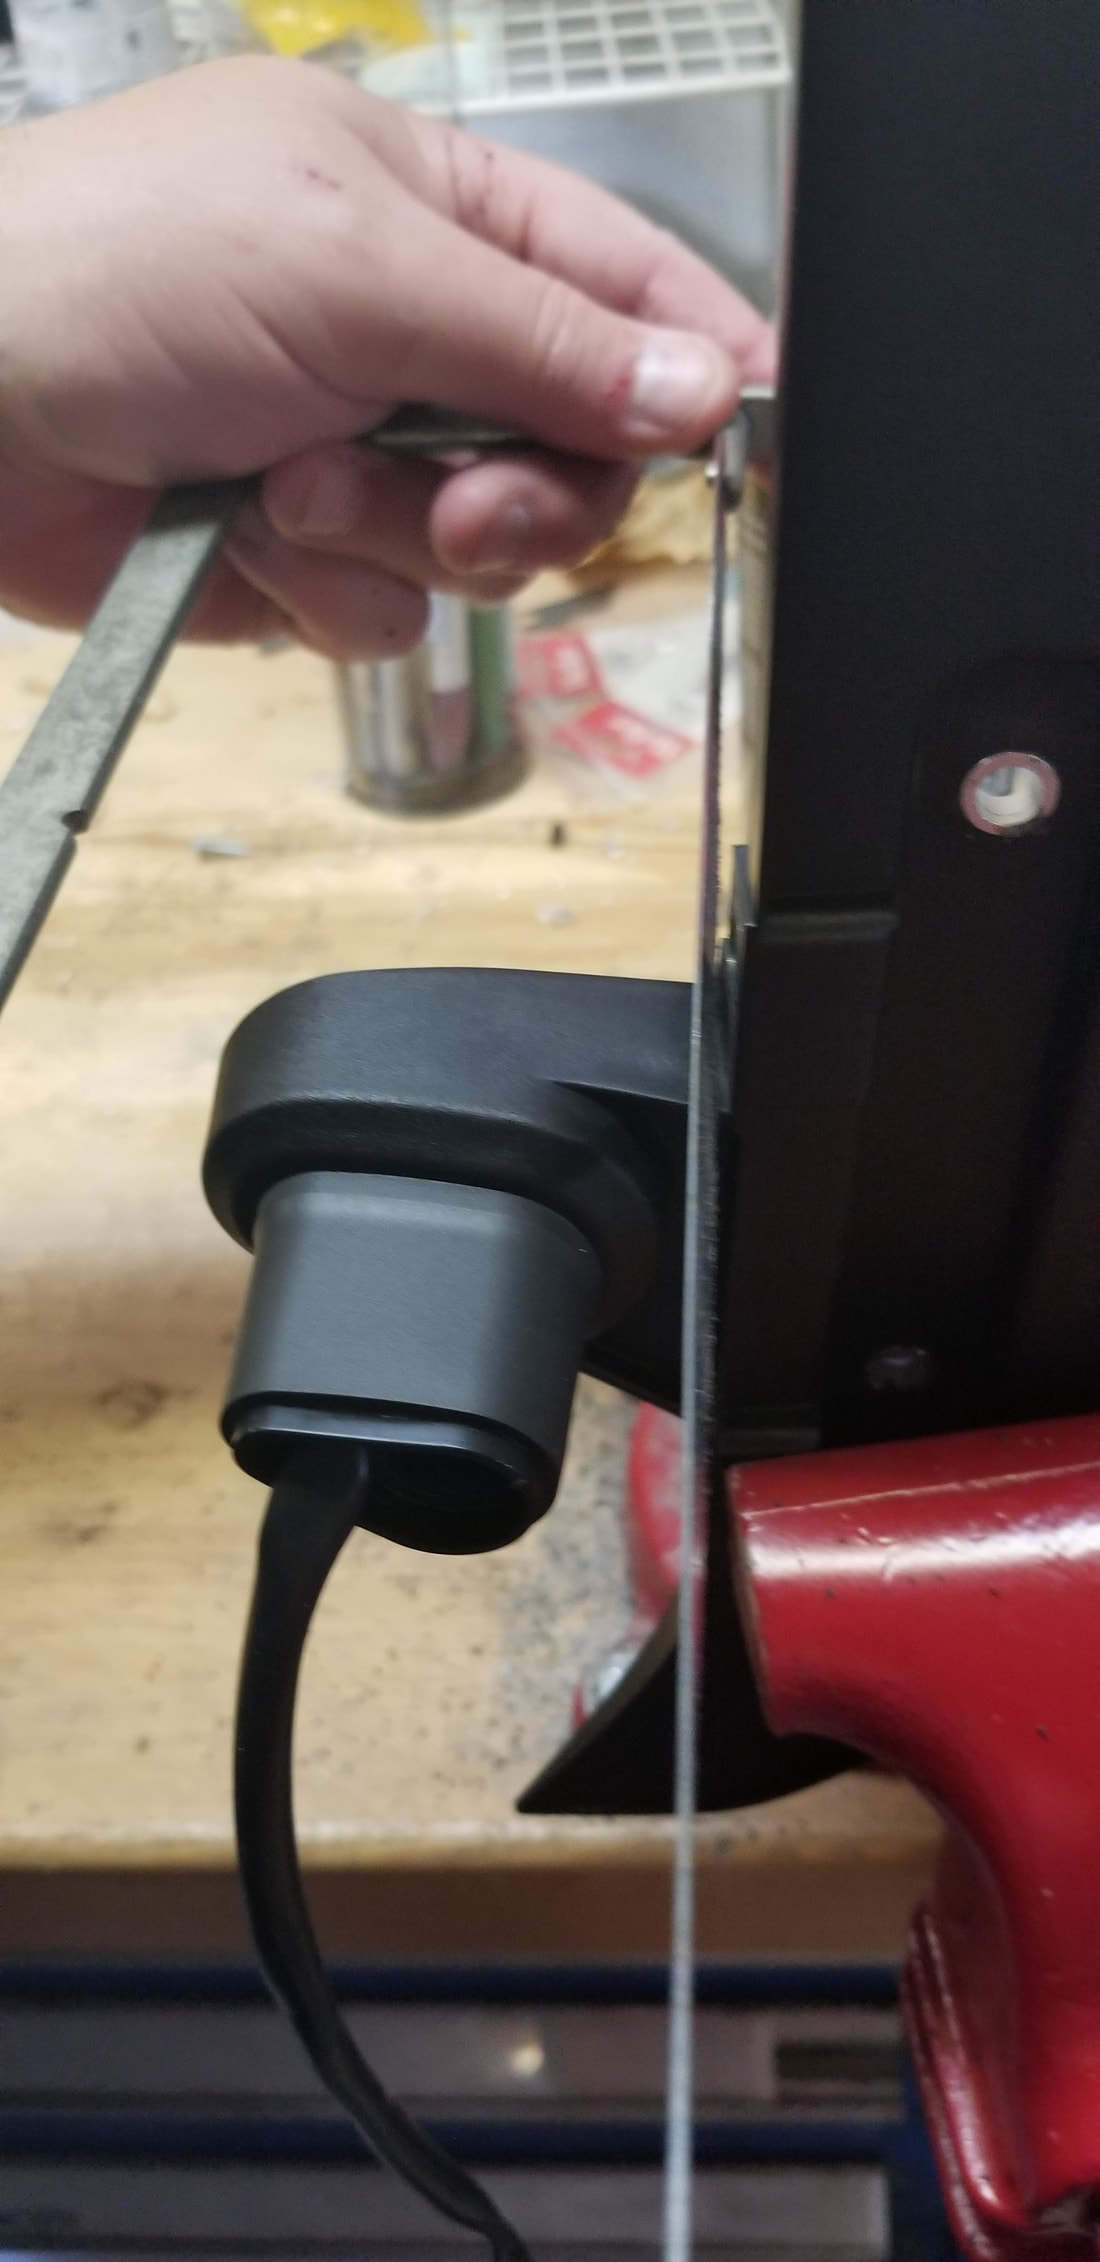
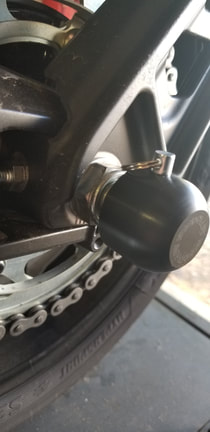
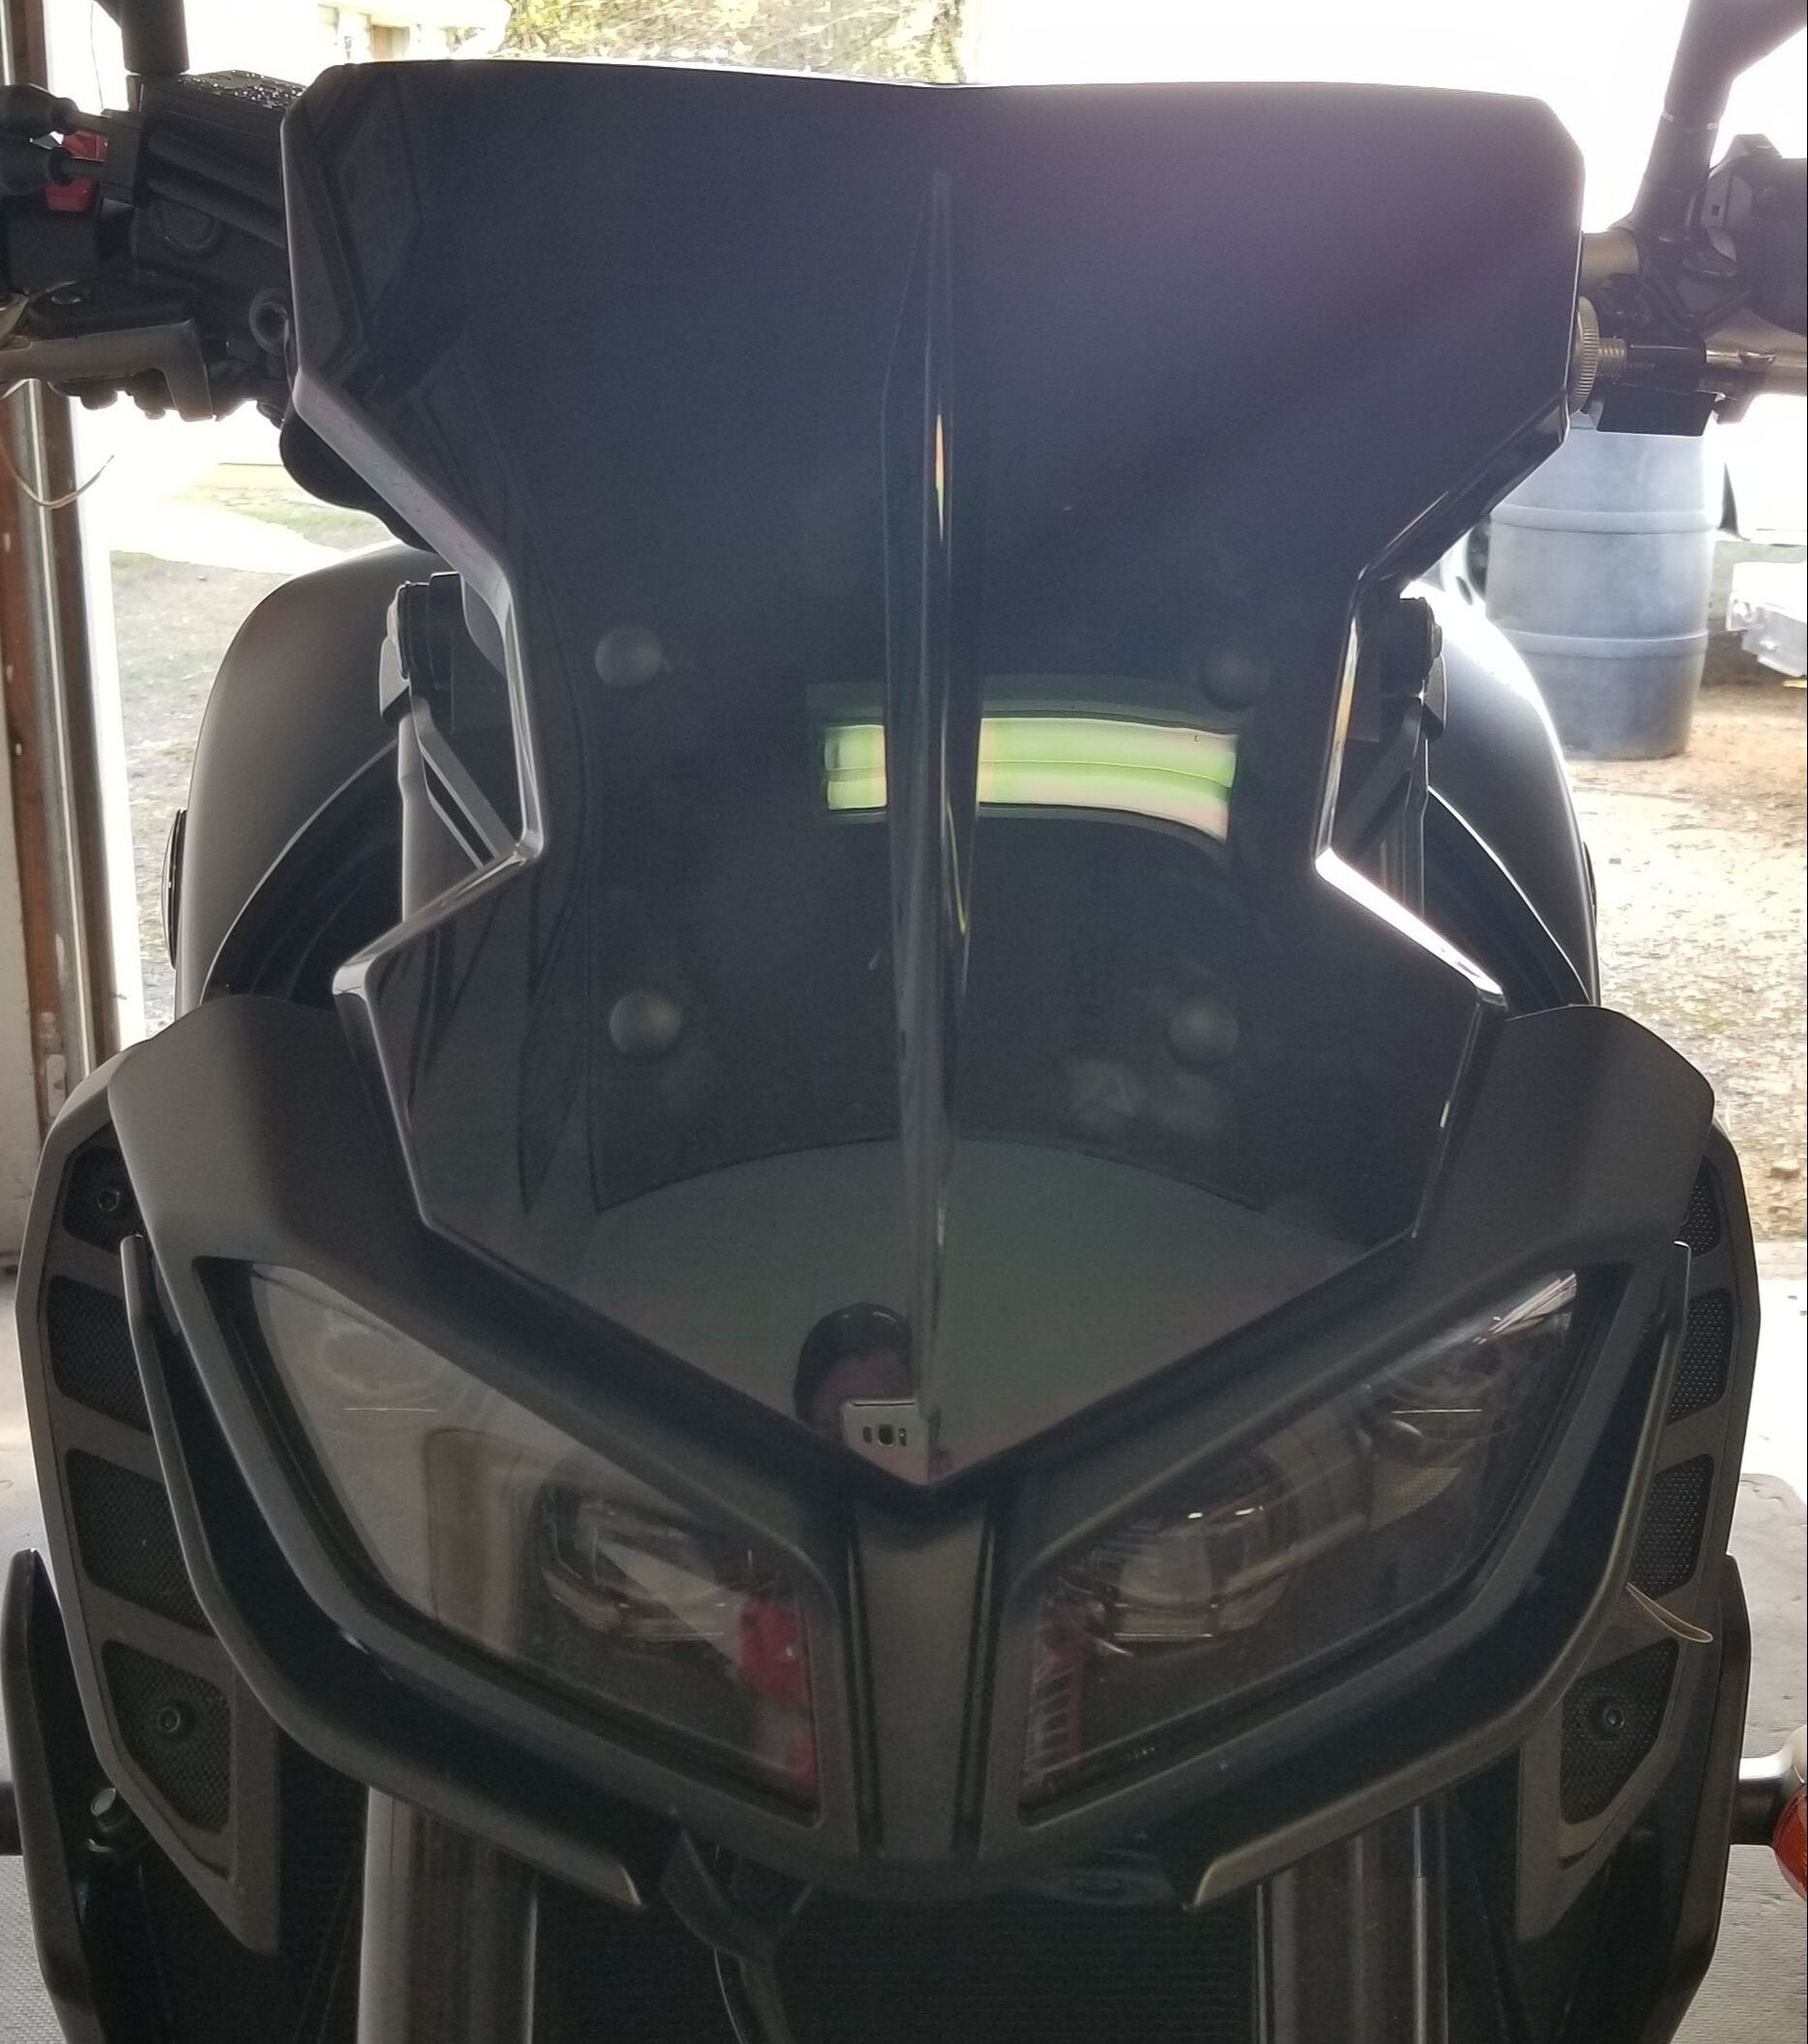
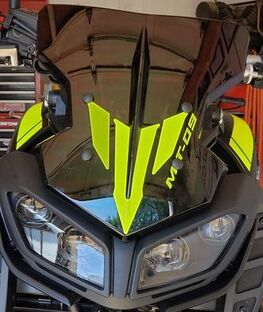
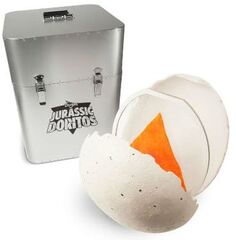
Will I am not totally prudish about 100% legal, I would like to attempt to seem somewhat legitimate.   That means find a tail tidy with a license plate light.  I also fancy ease of install and factory appearance.  Amd if you recollect a few posts ago, I've chopped off the Dinosaur egg-sized front blinkers and now need to ditch the rear blinkers too (more on that later).  With that, I select the Rizoma Bike Specific Tail Tidy Fender Eliminator Kit - Part # PT227B. Boy, did I underestimate the install for this project. 

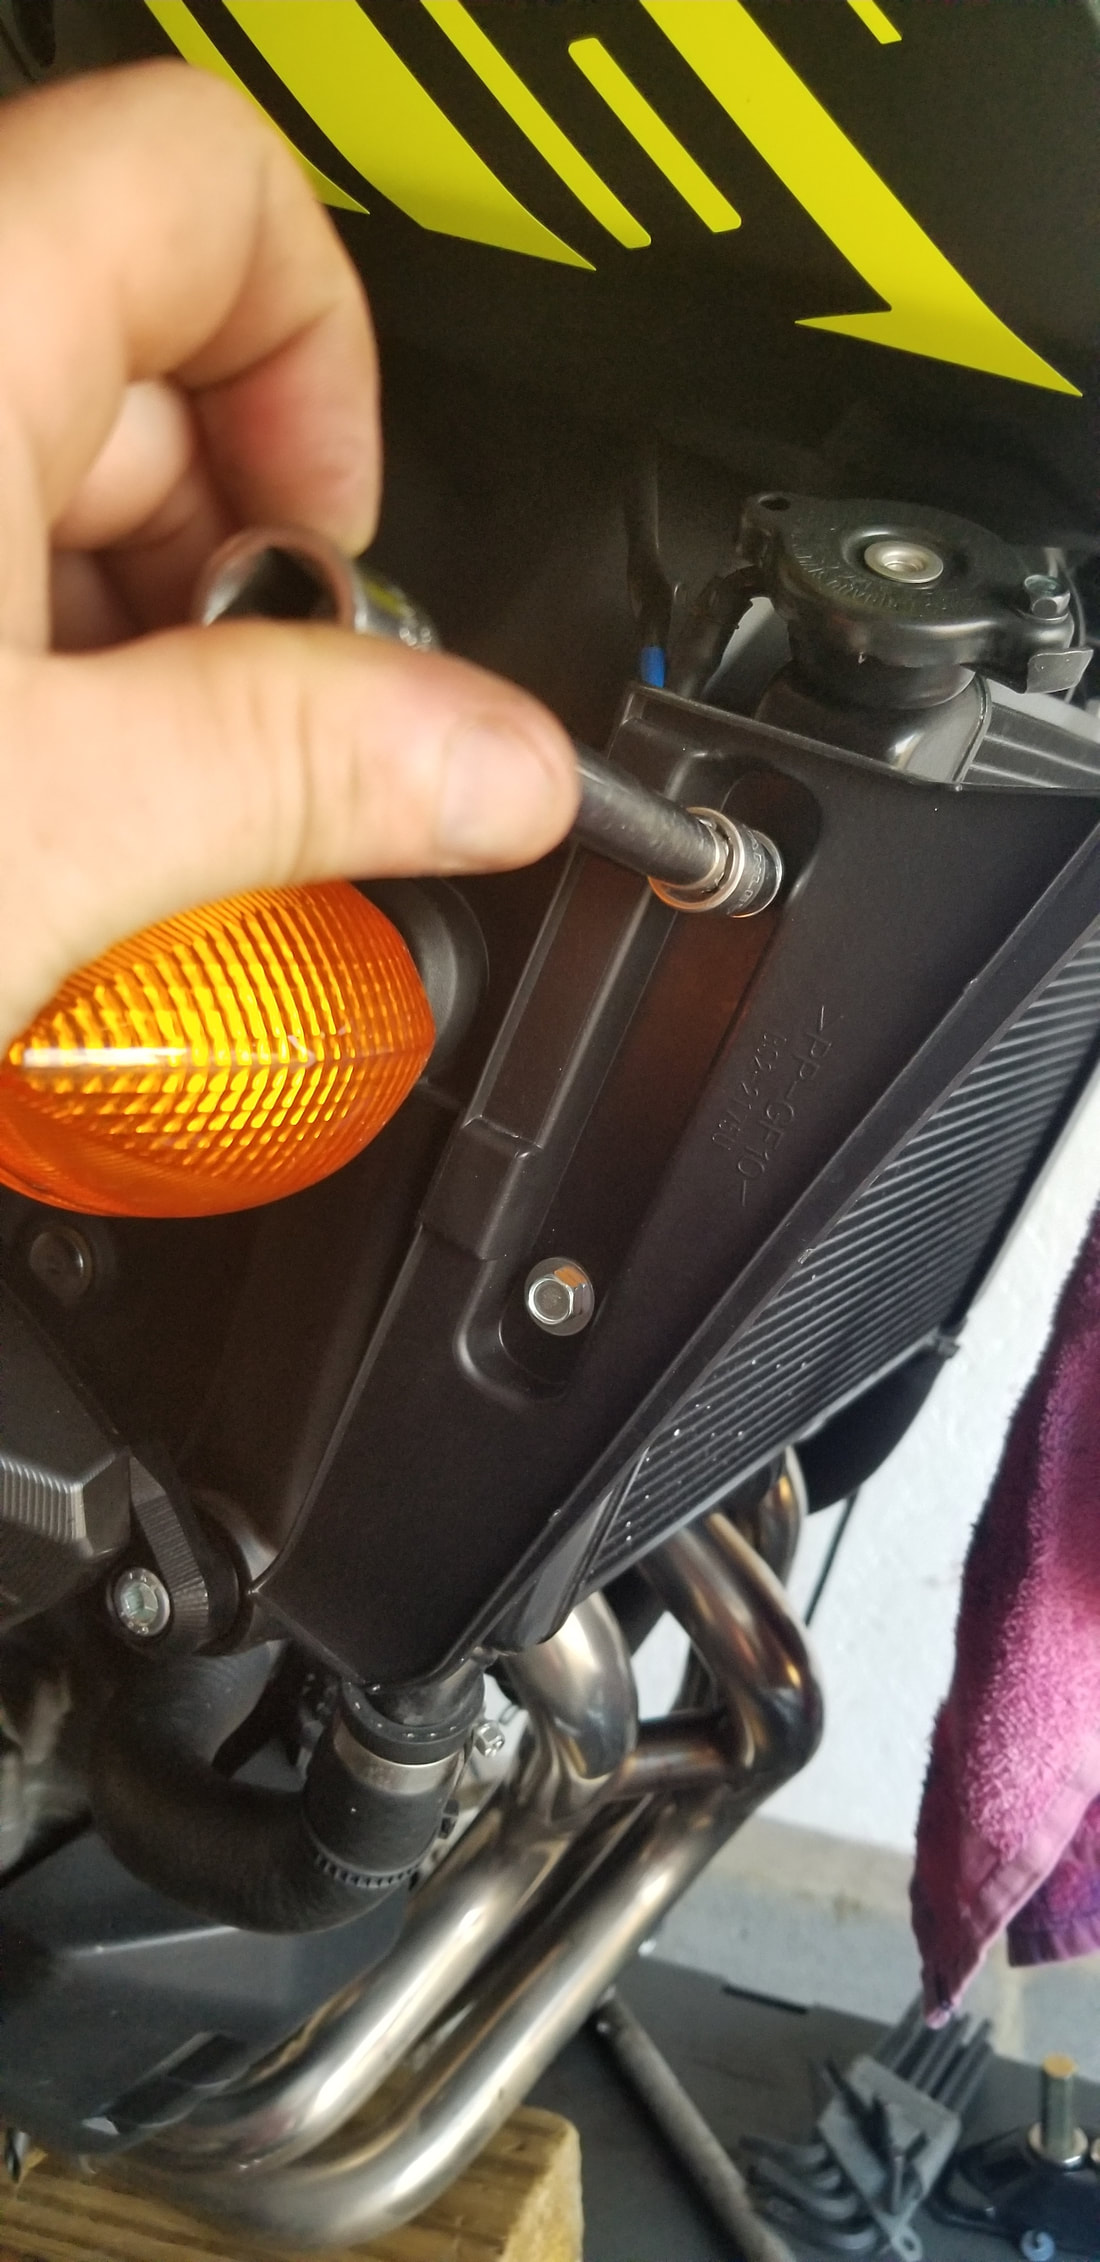
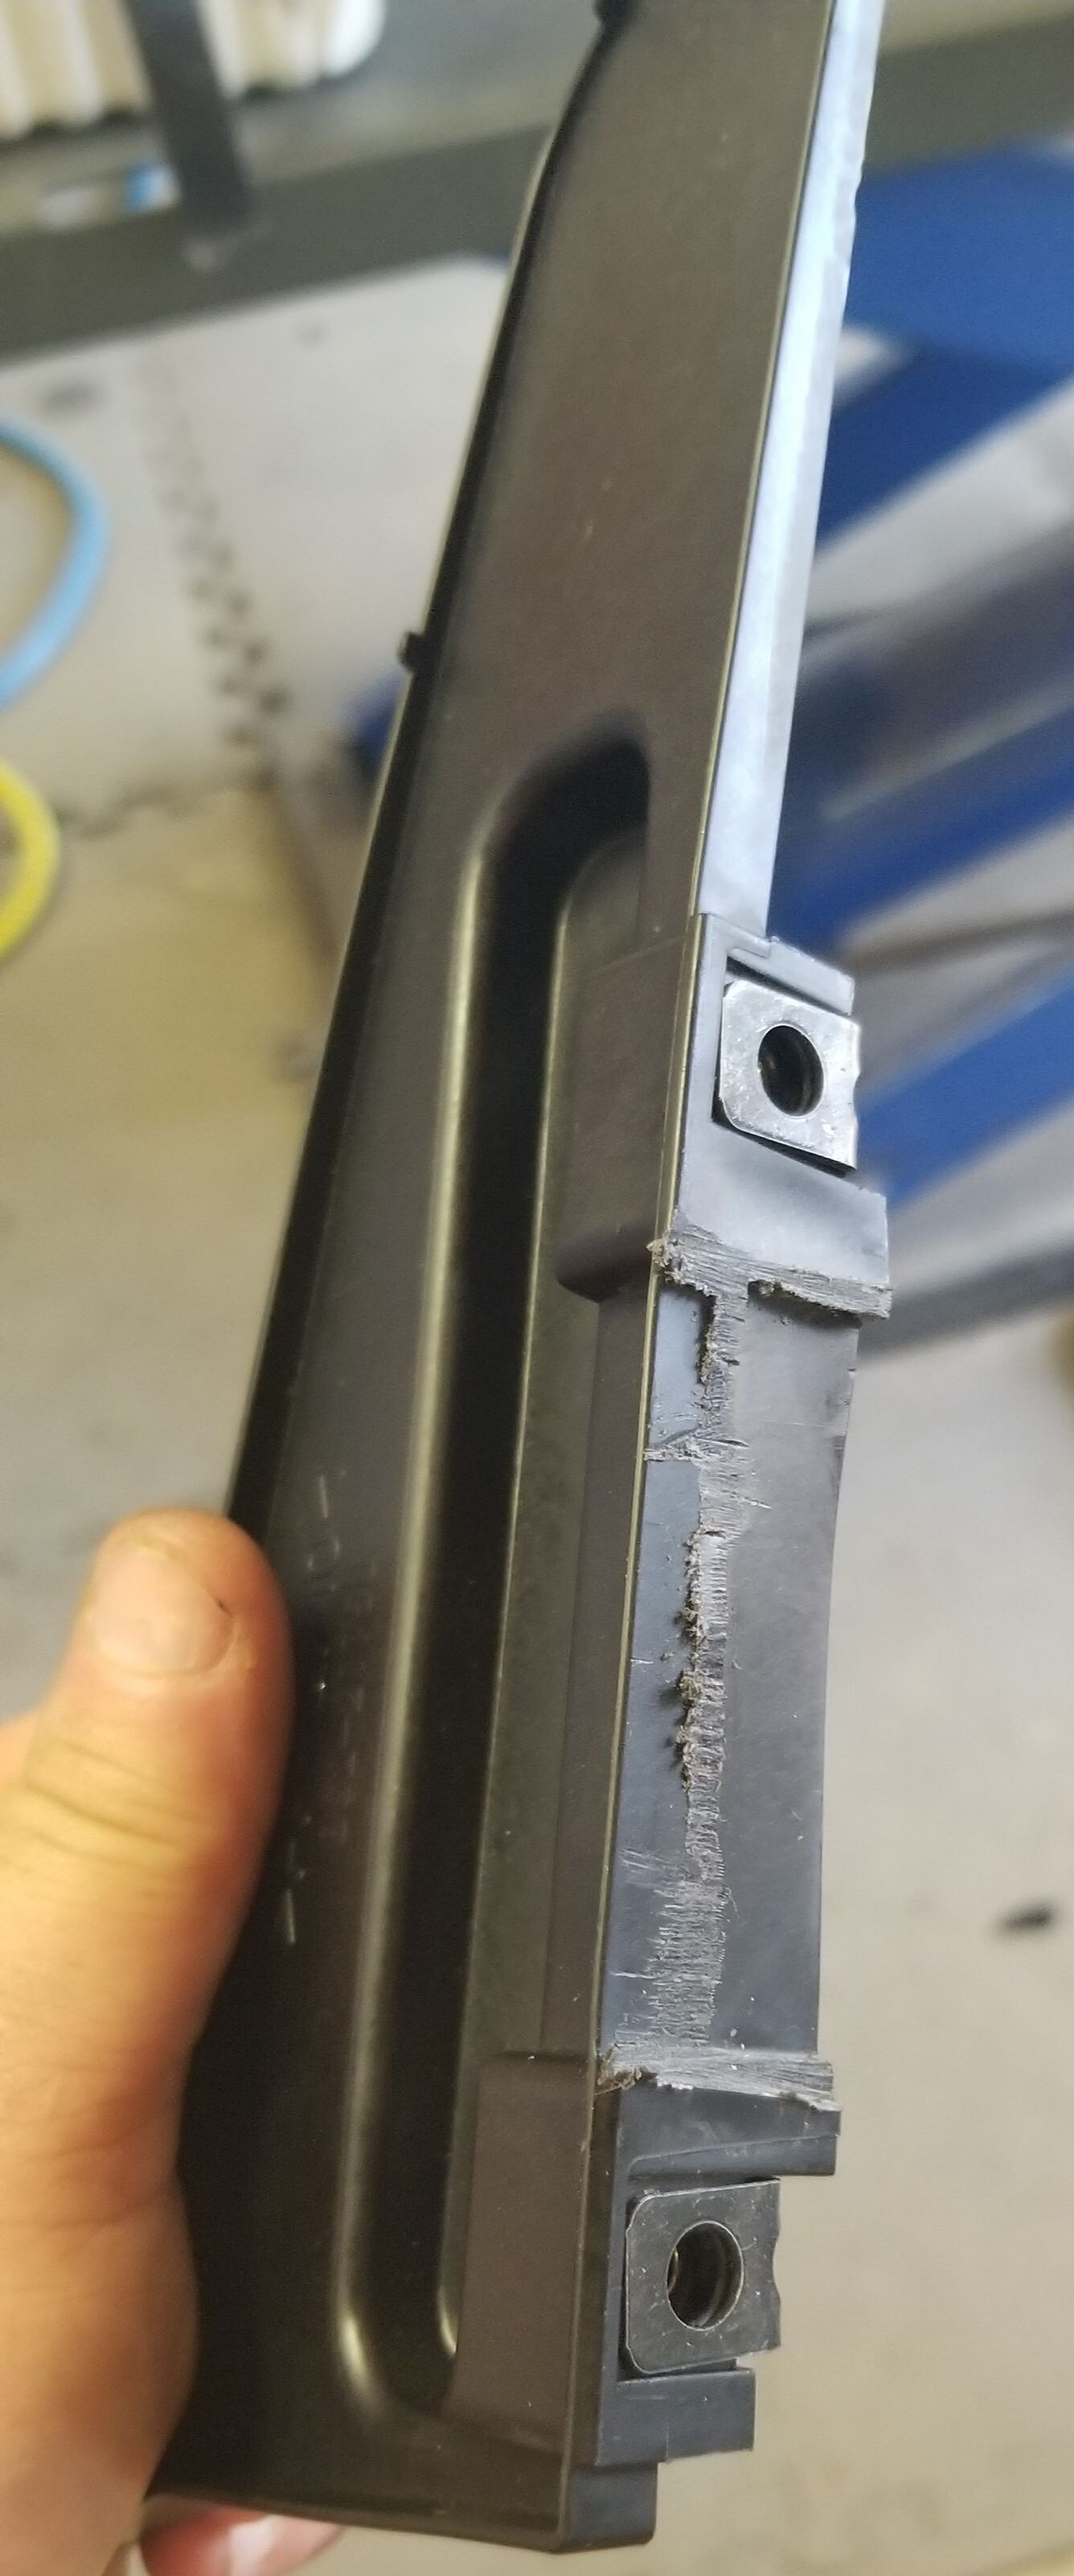
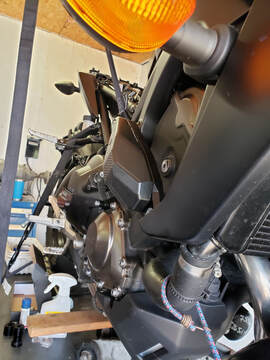
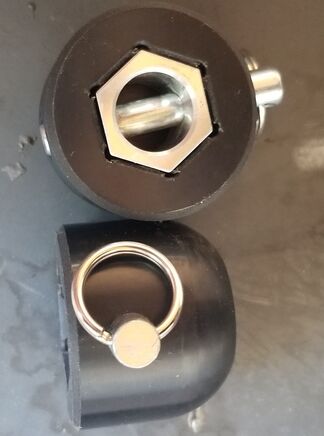
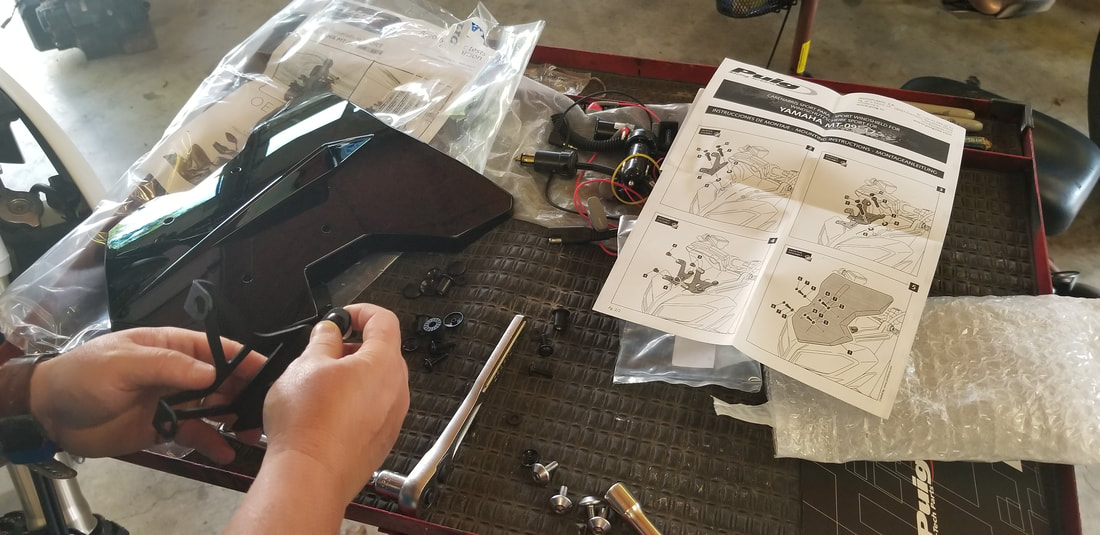
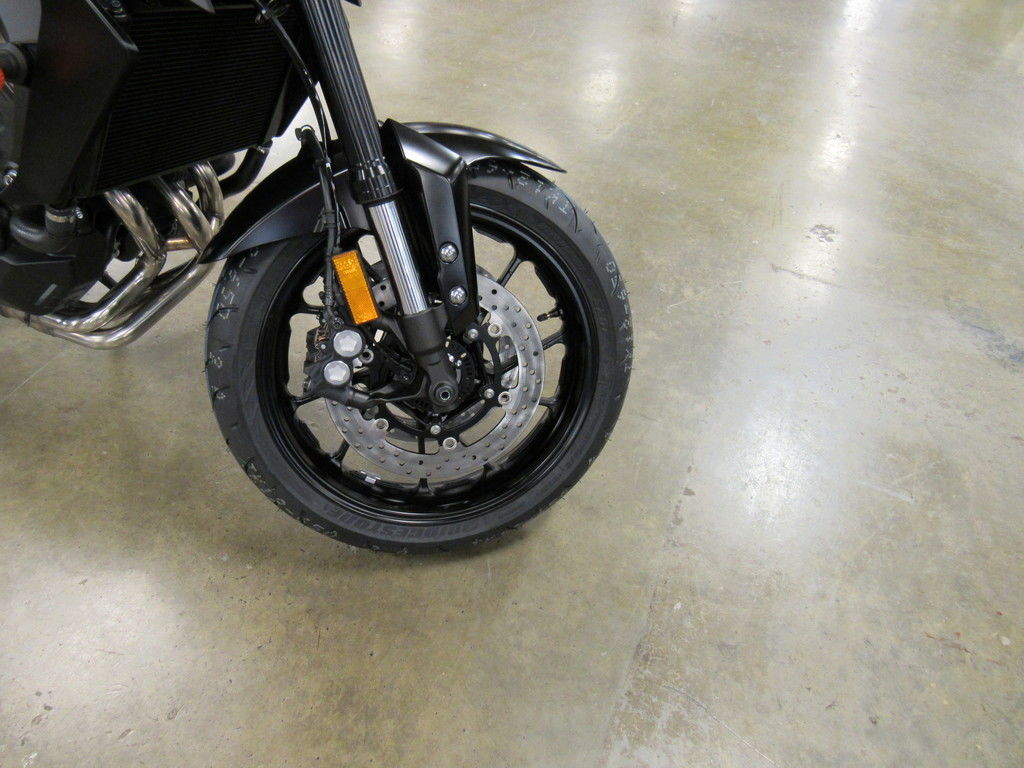
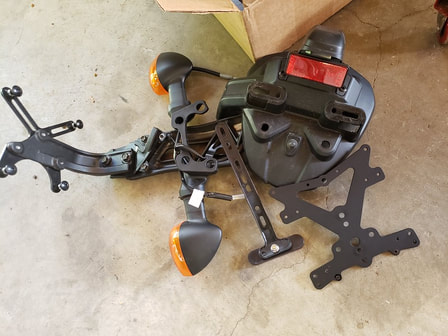
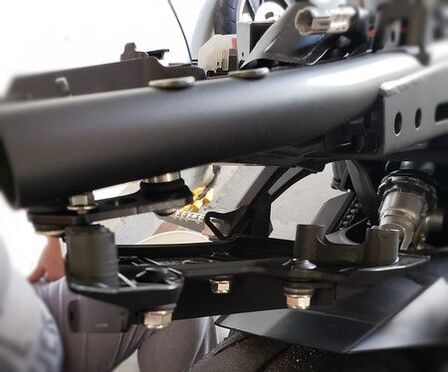
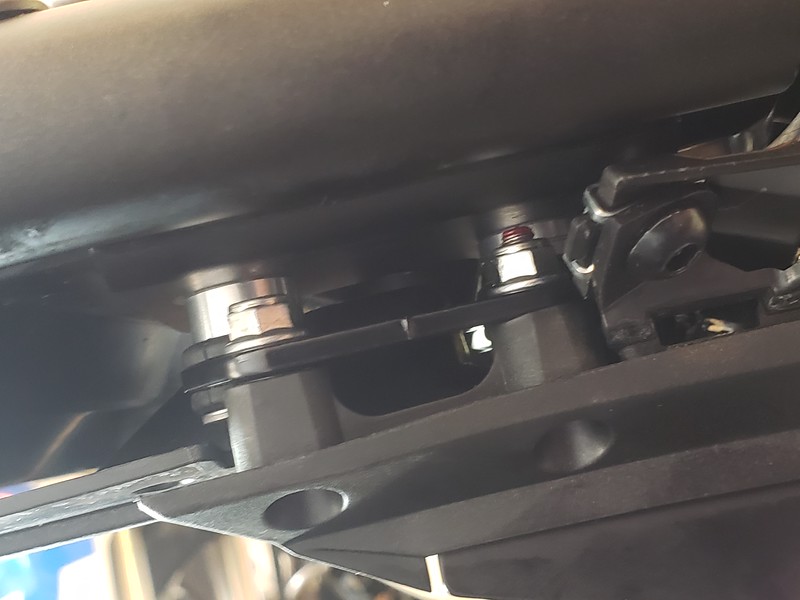
We probably accessorize one bike annually, and have a full garage with a lift.  And this project somehow sucked nearly 2 full days by the time it was said and done.  My biggest complaint about the kit is that Rizoma must use some of these components on multiple bikes, therefore they leave the final (and TEDIOUS!) assembly of components to you.  Secondly,  if you notice the big holes on the blinker mounts in the above photo.  They are there for a reason--there is just too much variation from bike to bike.  And Rizoma does not have a enough "slop" in the baseplate mount, which left me to some creative work arounds to get it mount. And they are itty bitty hardware that are basically hard to reach without dropping them 1000 times.  And none of the hardware is captive, so you need to hold both sides incredibly odd angles and tight spots to get it assembled.

Picture
Picture
My other minor nit is that for the really.expensive. price point it certainly should have included the 4 dang bolts to hold your license plate.  But after much toiling, I finally enjoy success.  
Picture
Picture
0 Comments

The Nip & Tuck

9/5/2019

0 Comments

 
I am always surprised on how much road grime can kick up onto the radiator.  Not wanting to walk home, I decide to get a bit of armor.  Found this gem on Ebay, and shipping from Italy was reasonably quick too.  It's nicley waterjet cut with the MT logo.
Picture
The radiator mounts using the factory screws on the side, which means taking off the blinkers.  The size of ones ears has never been lost on me.  However, I can't for life of me realize why the blinkers are in the middle of the bike?  And why do they look like the 1990s are calling and want them back?  So out comes the hack saw and off comes the perch.
Picture
Picture
Picture
The cut looks a bit rough, but since it is pretty much concealed under the side faring you don't really notice it.
Picture
0 Comments

But Did You Die?

8/18/2019

0 Comments

 
The key draw around this house is a bit ridiculous.  Anyhow, we have the main key, spare keys and then super duper backup keys. It's tough to find key chains that embellish the soul of that bike and are still soft/non-scratching.   Anyhow, I had these custom flight tags made based on the below graphic
Picture
Picture
0 Comments

The Pogo Stick

8/18/2019

0 Comments

 
I have to say the first 1000 miles on the bike was somewhat violent on poorly maintained road surfaces.  So much so, that it will be the first bike to get a suspension upgrade so early.  My main complaint was the rear shock would bump in the as* on large/square impacts.  While the front end was a bit more complaint after we took some compression out, it still was snatching the bars/ripping my shoulders out. 

The forks have already been shipped off to FastBike Industries last week, and I frankly can't wait to get them back.  The front end will be getting Nitron adjustable cartridges and the rear shock will be a Nitron level 2 unit.  I've also recanted a bit on too much bling, the rear spring will be Floro yellow powdercoat. 

While I certainly won't regret this upgrade, it's likley to be bit on the spendy side.  Additionally, I should have realized how the too tight from the factory rear chain was playing into this.  But nonetheless, the show goes on...for now, she sits all alone..
Picture
0 Comments

The Best Offense is a Solid Defense

8/18/2019

0 Comments

 
It's been said that an excellent offense starts with a good defense.  In this case, coming from a dual sporting background I've think nothing of gracefully exiting a bike as it finds it way to snuggle up horizontally to mother earth.  And while all bikes can and will be replaced, I'd like to atleast stack the deck in my favor. 

For this build, I considered the stunting cages which are similar to the dual sport theme.  However, this bike will never be my stunt bike, and quite frankly I've not found a set of bars that aren't completely fugly.  Lastly, I want the protection to be close as possible to the bike as to encourage it to slide all the momentum off (and not catch then start to high-side/tumble).  So, with that I chose a more muted build of axle sliders, case sliders and frame sliders. First up, the Womet-Tech Frame sliders.  I chose them as they were a 2-point design and I liked the machine marks on the delrin sliders.  I plan on relocating the side blinkers to the headstock later this year, so I am not concerned with how far those are protruding for now.
Picture
Picture
Installation was bit tricky, as the OEM bolts have some adjustment in the bolt heads, but the sliders require the frame to be 100% aligned.  No worries, suspending the frame from ceiling bolts did the trick! The sliders to have ample clearance off the body panels
Picture
I decided on Woodcraft Technologies for right hand side Clutch Cover Protector (P/N 60-0409RC) and the left hand side Stator Cover Protector (P/N 60-0409LC).  As previously mentioned, since I've changed the graphics out to Floro yellow, I've chosen black for the other accessories to prevent too much blinginess.  I decided to install these during the first oil change.  Since it was removing a few bolts, I didn't want to risk having a weeping gasket later.
Picture
Picture
Picture
Picture
Picture
Picture
The Woodcraft axle sliders (P/N45-0409F) use a quick release pin vs the long rod on most of the designs
Picture
Picture
0 Comments

The Nose Job

8/18/2019

0 Comments

 
Earlier I spoke about how this bike is fugly.  But the more you come to appreciate it, you realize that it is where form meets function.  But I do think there are a few enhancements would bring her closer to Nirvana.  First, let's look at that beak.  Originally we stare at a completely unfinished dash
Picture
I am fairly short, so I don't need much of screen to reduce buffeting.  So, I decided on the PUIG SPORT Naked New Generation Windscreen in Black. It's a reasonably easy install. Just open the little bits of parts and follow the pretty pictures.  I was pleased with the final coating on the metal brackets and the stainless hardware, lest it not rust it not begin to rust before the last screw was tightened.

Picture
Picture
Walla! Almost looks factory. 
Picture
Picture
And how about a lil' cherry topping on it?  Graphics from mt09sticker.com.
Picture
0 Comments

The Hooligan Bike

8/17/2019

0 Comments

 
Picture
There are rationale ways to make a large purchase, like the process where you consider your requirements and evaluate them against the performance specifications.  But frankly, when you are buying hooligan bike all that sanity goes right out the window.  In fact, it wouldn't be until after the 1000-mile break in was completed, that Bruce decided to look up the specs on the new bike.  And she does not disappoint.  The triple cylinder configuration is putting out 115-hp and a 425-pound wet weight. 


And as a hooligan bike, I had but one requirement for her, where form meets function.  However,  if you are going to be ugly, make ugly a statement.  Good thing that Bruce was a the local dealership months before my test ride. Having never talked about another bike, I think he meant to say she's ugly in a really cute kinda way.  After all, who admits they own the ugly bike?!?

Picture
When searching out the bike I was going to buy I wanted the fluorescent yellow rims. But that was only used on the 2018 color scheme, and there were apparently none east of the Mississippi that were showing in inventory.  So, did the next best thing. I bought an all black bike with the intent to gussie her all up with sticker packages.  The windscreen is the PUIG SPORT Naked New Generation Windscreen.  Stickers from hooliganstickers.com and Gpvinyls.com


Picture
Picture
Picture
Picture
Picture
Picture
Picture
Picture
Picture
Picture
Picture
I am loving the Floro yellow, but I need to call it quits.  Also, it's been difficult to work with the Floro yellow as the other aftermarket bits in anodized aluminum are plain golden yellow.  On previous builds, the different shades have been visually distracting, so I've stuck with black for most of the other add ons. Just make sure to use those rim savers when changing your rubbers out!
0 Comments

Dorito Jurasic T-Rex

8/1/2019

0 Comments

 
The first bike in the Dorito namesake was aptly named Dorito, as it was Lava Orange.  Rather, I saw it as the color left on your finger tips after eating Doritos. 
Picture
And somehow that bike survived much of what I did to her.  However, after getting the thumper (one-cylinder BMW) I realized how poorly this bike was off road.  I disliked the length of chassis, and the progressive springs in the front and the low-end aftermarket rear shock were poorly executed.
Picture
Picture
Picture
Next, in the line up is Cool Ranch Dorito.  Fitting name for a Yellow bike, eh?  More on that backstory here:
Picture
Then there was Dorito Roulette. And that prelude here:
Picture
Picture
And now, introducing Jurassic Dorito!  

You probably didn't know the chipmaker produced a limited number of giant-sized Doritos chips to coincide with 2018 summer's premiere of Jurassic World: Fallen Kingdom. The oversized Nacho Cheese-flavored chip measures in at about ten inches tall  while retaining the thickness of a traditional Doritos chip. But a chip this big (and fragile) can't just be shipped out in any old bag. So when the chip arrives, it's hiding inside a replica dinosaur egg nestled within a giant metal Jurassic Doritos crate, with a certificate of authenticity to boot.

Or more simply I will call her T-Rex!   Heck, who doesn't think of the Tyrannosaurus as their go-to Dino pick for the Jurassic period?  And not to miss the allusion to MT-09 and T-Rex!

Picture
0 Comments

The Stable

7/20/2019

0 Comments

 
Picture
I should have known better.  Never through a leg over something that you don't want in the stable.  There is a primordial part of the human brain that associates things that you have touched as belonging to you. Annually around mid-July, Yamaha Racing Champion School (YRCS) brings their course to Quantico Marine Corp Base.   Nearly melting to the asphalt as it was blazing HOT, but otherwise I had a delightful day. It was taught this time by the CEO of YCRSS, Nick Iantach (sp?). The other instructor just finished up from a top 5 finish at Laguna Seca the prior weekend in the Superbike class. Needless to say, they oozed talent.

The class was all taught trackside, and was a great blend of theory and application. Never once did they ask anyone to slow down, and certainly no pussy-footing around turns. "You accelerate because we use our brakes!" They would ride laps with us, and randomly move cones into the corners to change our apexing and sometimes full stops in the corner. It was a full 8 hr course, and I certainly didn't feel like I needed any more turns/track time by the time we concluded.

The only downside to the "free" class was that they brought 4 bikes (Tracer 900, MT-07, MT-09 and something else with full fairings). I was able to catch ride the last 35 mins session on the MT-09.  But yet, standing in the middle of a 10 acre helo field decorated ornately with miniature pylon cones and I don't walk away.  Instead, under the leadership of Yamaha Racing School I have the most incredible test ride of my life.  The final session of the day and pure bliss piloting the MT-09 on a closed course, with professional instructors urging me to pilot the bike with more zest into the corners.

I leave that test ride on Wed, and by Saturday the new sled is in my possession.  However, I did find the local Washington DC dealers a step below scoundrel level.  Dealers to the North and South of me both wanted $1K (11%) more in shipping/documentation/assembly fees.  It's a bit a ridiculous business model.  The dealer 15 miles from home had last years model on the floor, which she was apparently very proud of.  They wanted a $800 premium for the luxury of buying a bike that I don't like the color and a year older.

Picture
So we trek off to Romney, WV which is 150 miles away.  Their environment of welcoming an old friend home, rather than the ‘bait and switch thuggery’ of my nearest dealerships was a smart trade.  From the first call, the sales staff was knowledgeable and acted with integrity.  The prices he quoted on the phone were the same at the signing table a few hours later (and at a savings of >$800!).  Having the same bike in his personal stable, the sales staff passion for the bike was unwavering and they certainly took the time to go through the bikes options, possible upgrades and discuss any questions I had.  Romney Cycles was efficient throughout the process, as the bike was prepped and staged for pickup under the front canopy as we arrived and paperwork ready complete & correct and as soon as we had completed the bike inspection.

A minor nit found later was that the chain was wicked tight, even after the first 1000 miles. 
Picture
0 Comments
Proudly powered by Weebly