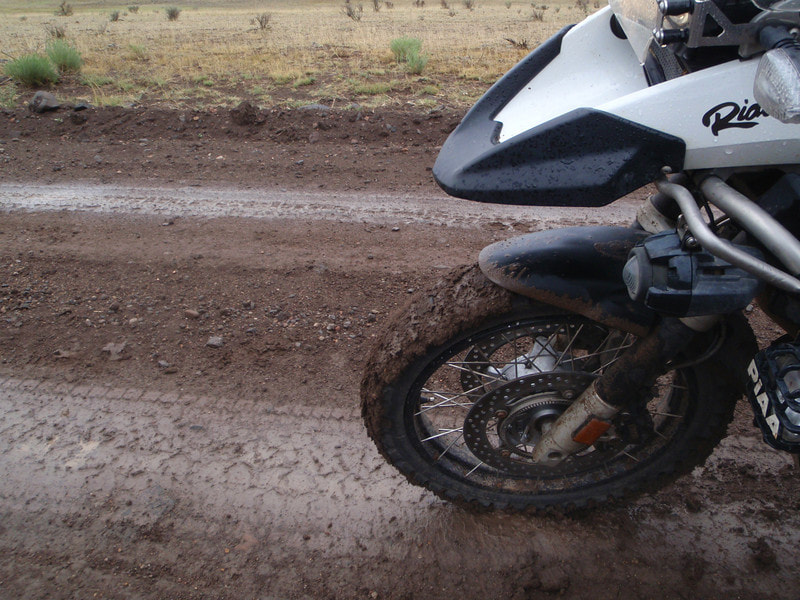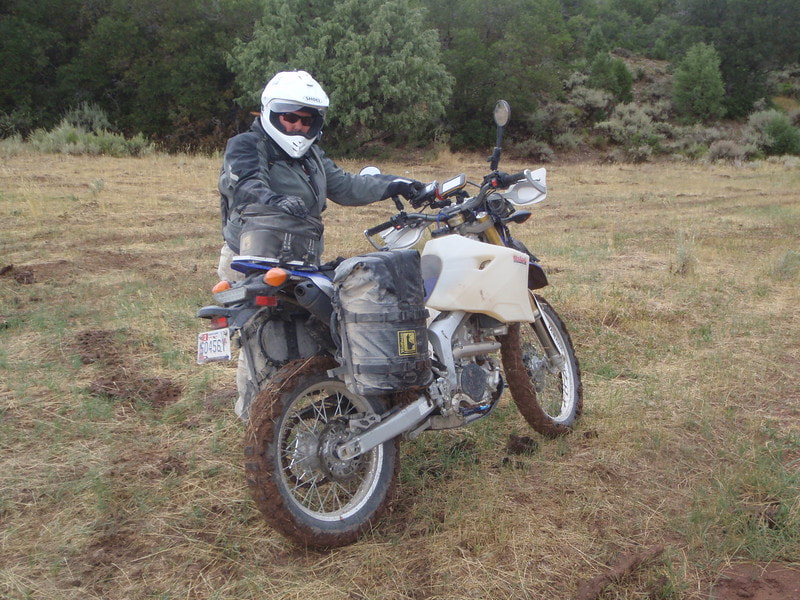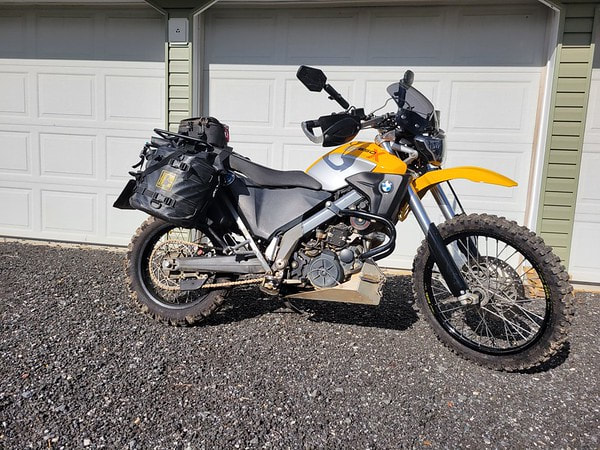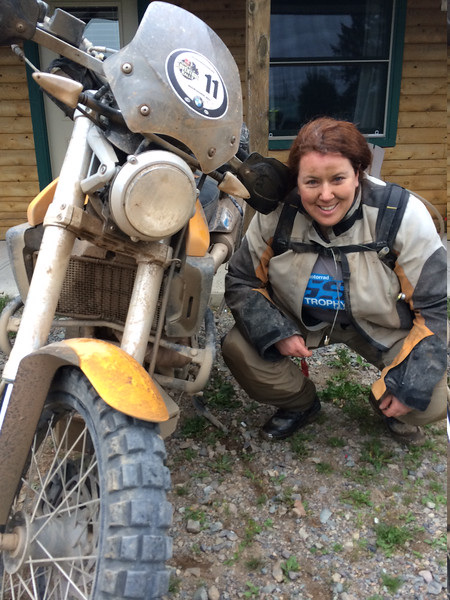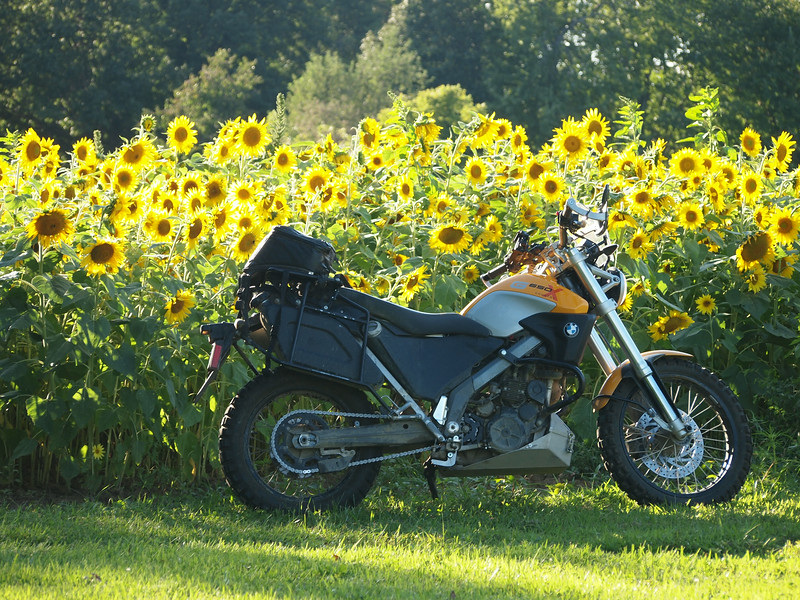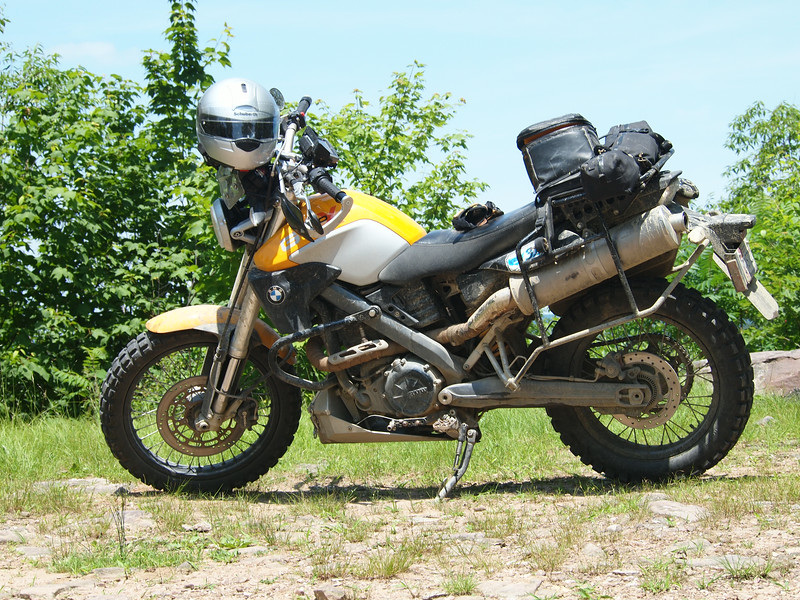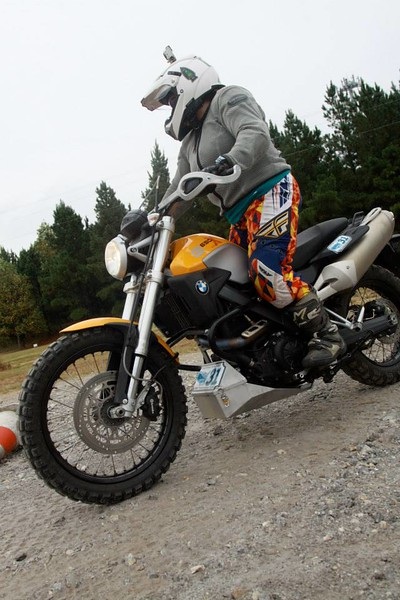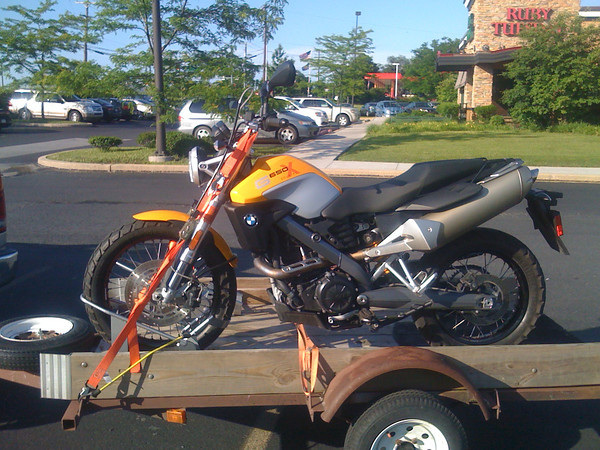
If you love her, set her free. But I do love her. But yet in a little less than a month's time I will turn her over to Federal Transport. Federal will transport her 2000 miles west and stage her near Denver International airport. We will reunite in August for a trifecta of three luscious weeks of riding the new Wyoming Backcountry Discovery route, the Colorado BDR and the Utah BDR. Once that concludes, she will stay in storage for a few more trips coming back early spring.
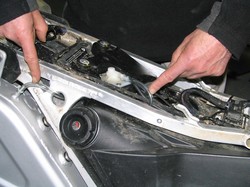
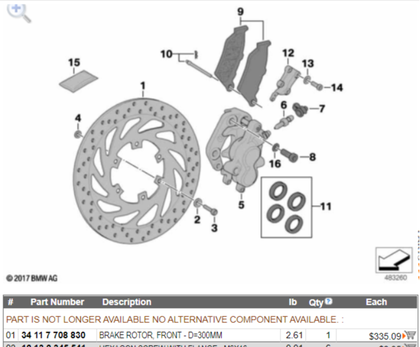
That means that any possible maintenance could not be postponed. New tires, new chain and sprockets, and new brake pads and rotors. The rotors were maddening to source. The low-production bike now 13 years out of production is becoming hectic to source parts. The reality that for all my want, she will likely need to be retired before I am ready. However with two X bikes in the household, we may squeak out a little more juice using the first bikes that taps out as the parts bike for the remaining bike. But as with all things "part is no longer available no alternative component available" means that even at a 200 percent mark up, BMW won't support the platform forever.
Galfer is still a viable option, but also providing the specifications incase you want to try to find other compatible rotors. Here are the rotors specs from Galfer:
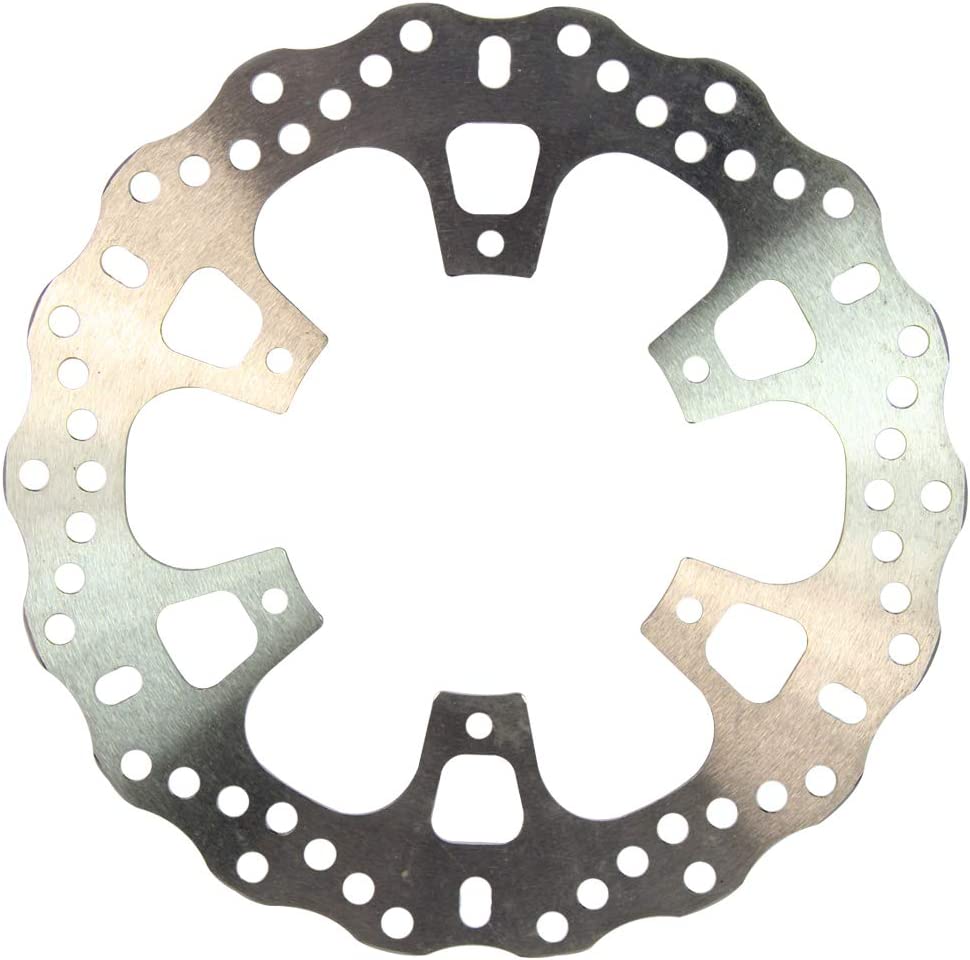
| Front Rotor Specifications: Ø Outer: 298.00 mm Ø Inner: 105.00 mm Off set: 0.00 mm Thickness: 4.00 mm No. holes: 6 Ø between holes: 120.00 mm  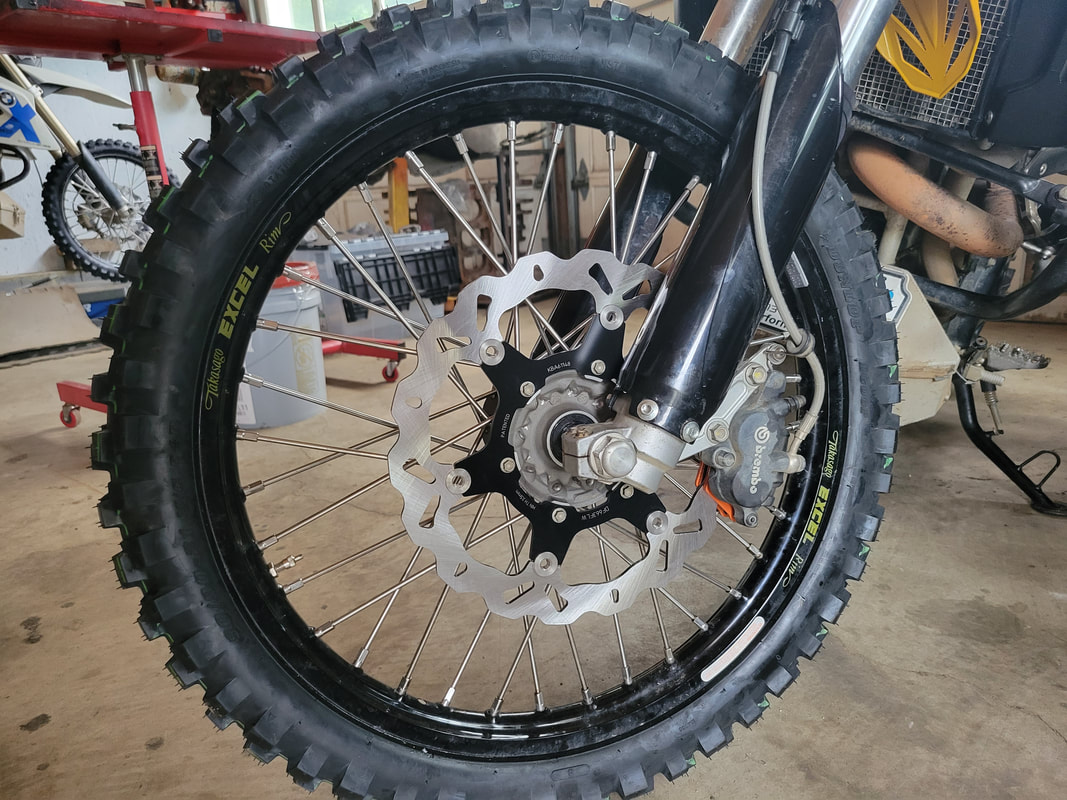 | Rear Rotor Specifications: Ø Outer: 240.00 mm Ø Inner: 105.00 mm Off set: 0.00 mm Thickness: 4.00 mm No. holes: 6 Ø between holes: 120.00 mm 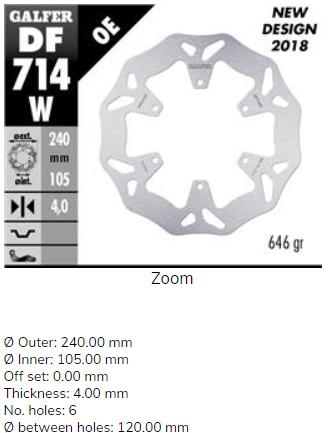 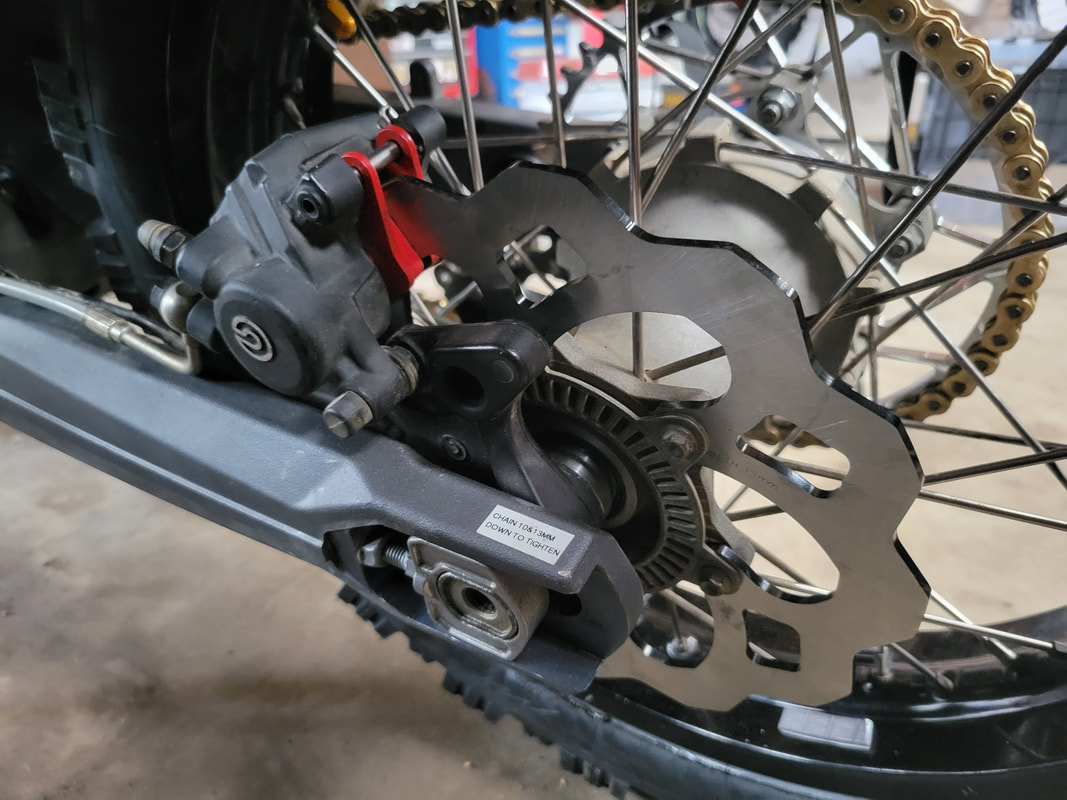 |
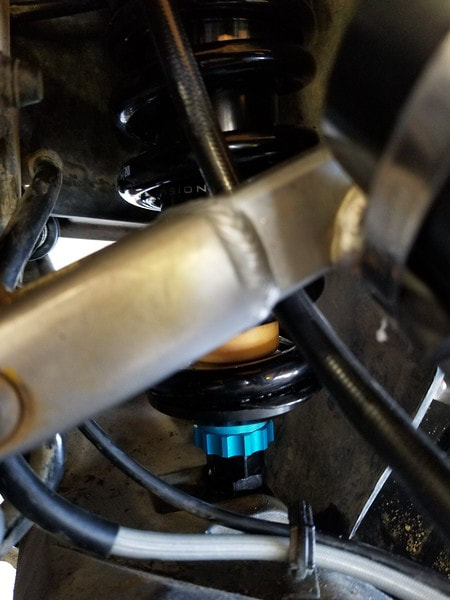
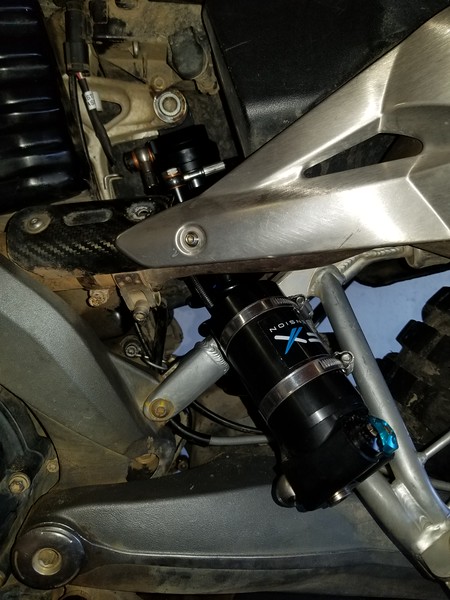
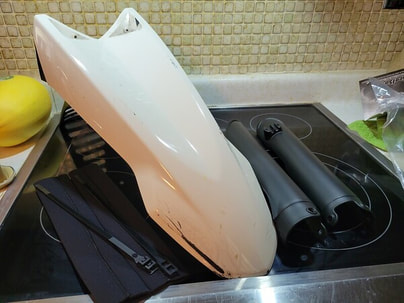
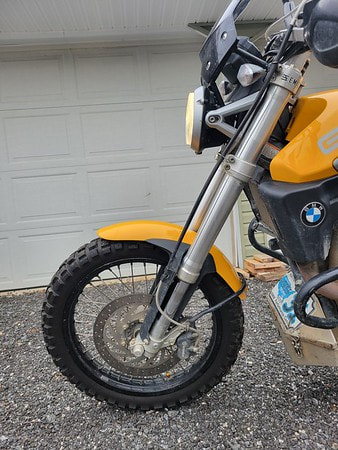
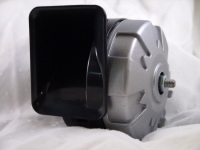
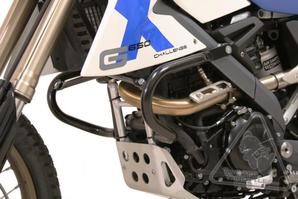
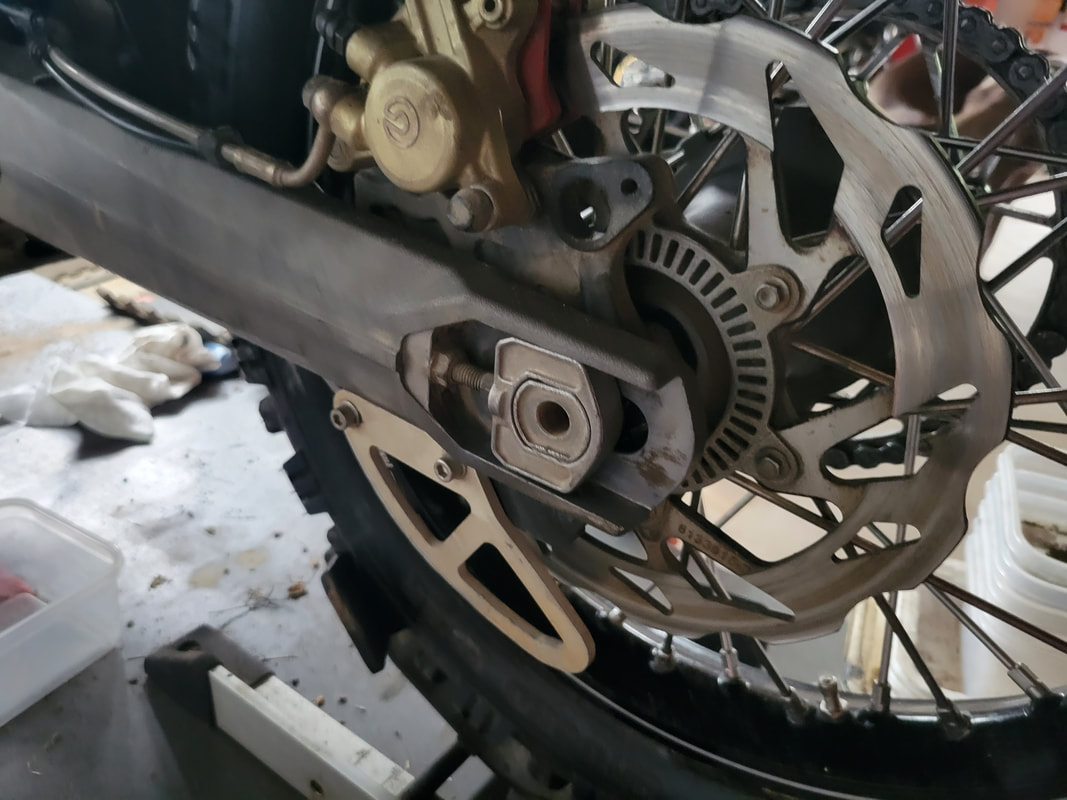
The rear rotor shares some commonality with a scooter, and it easily sourced from the EU. Ordered from Italy, and shipping was about 10 days. With a favorable exchange rate, the set was mine for $200. I will note that OEM front rotor was not floating-type. While floating type will likely stop better in most situations and reduce the fabled brake chatter, it is more vulnerable to damage off-road. So, I've sacrificed a bit of robustness. The rear is just a sexier version of BMW :-)
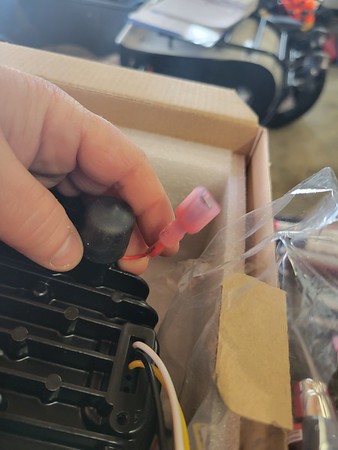
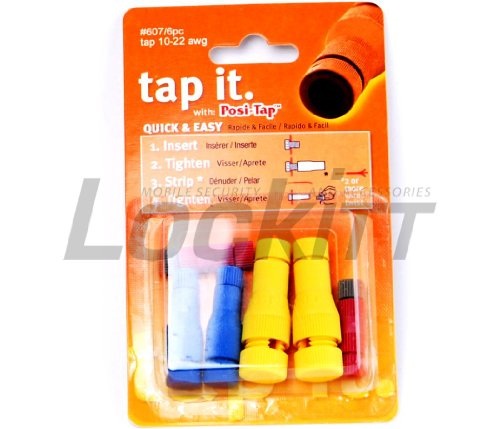
I paired them with the EBC Semi-sintered (orange) on the front and Carbon X (red) on the rear. The reason for this is that I don't find that bike heats up the pads enough to get a decent bite from full sintered, especially sub 30 MPH off-road. The orange pads are a nice compromise to wear and braking.
I paired them with the EBC Semi-sintered (orange) on the front and Carbon X (red) on the rear. The reason for this is that I don't find that bike heats up the pads enough to get a decent bite from full sintered, especially sub 30 MPH off-road. The orange pads are a nice compromise to wear and braking.
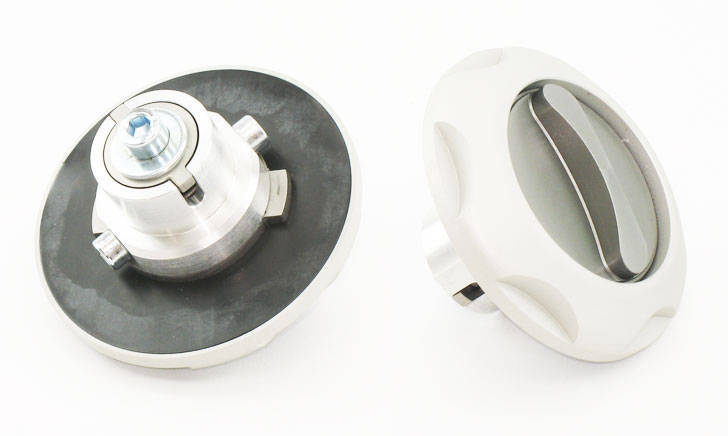
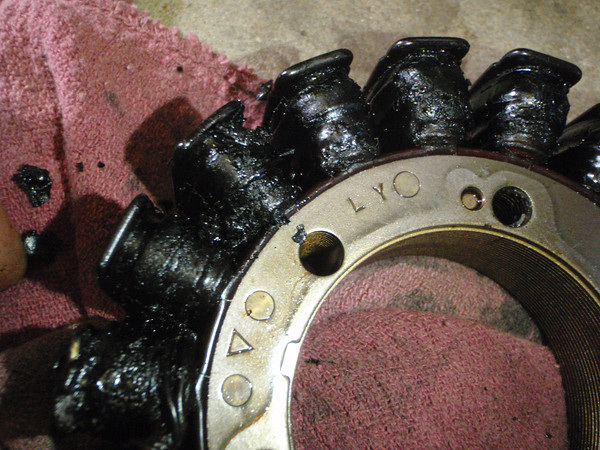
Of curious interest, the other X bike sports these rotors. The front part number stamped on it was 813914-00 and 813915-00 (rear). However, I never did find any stock domestically or internationally.
 |  |
The EBC site lists MD810C as fitment for the X-bikes. It is unclear which rotor that is for based on EBCs write up, but the comments seemed to confirm rear fitment. Also it is cited as discontinued, but I did find some new old stock domestically.
 |